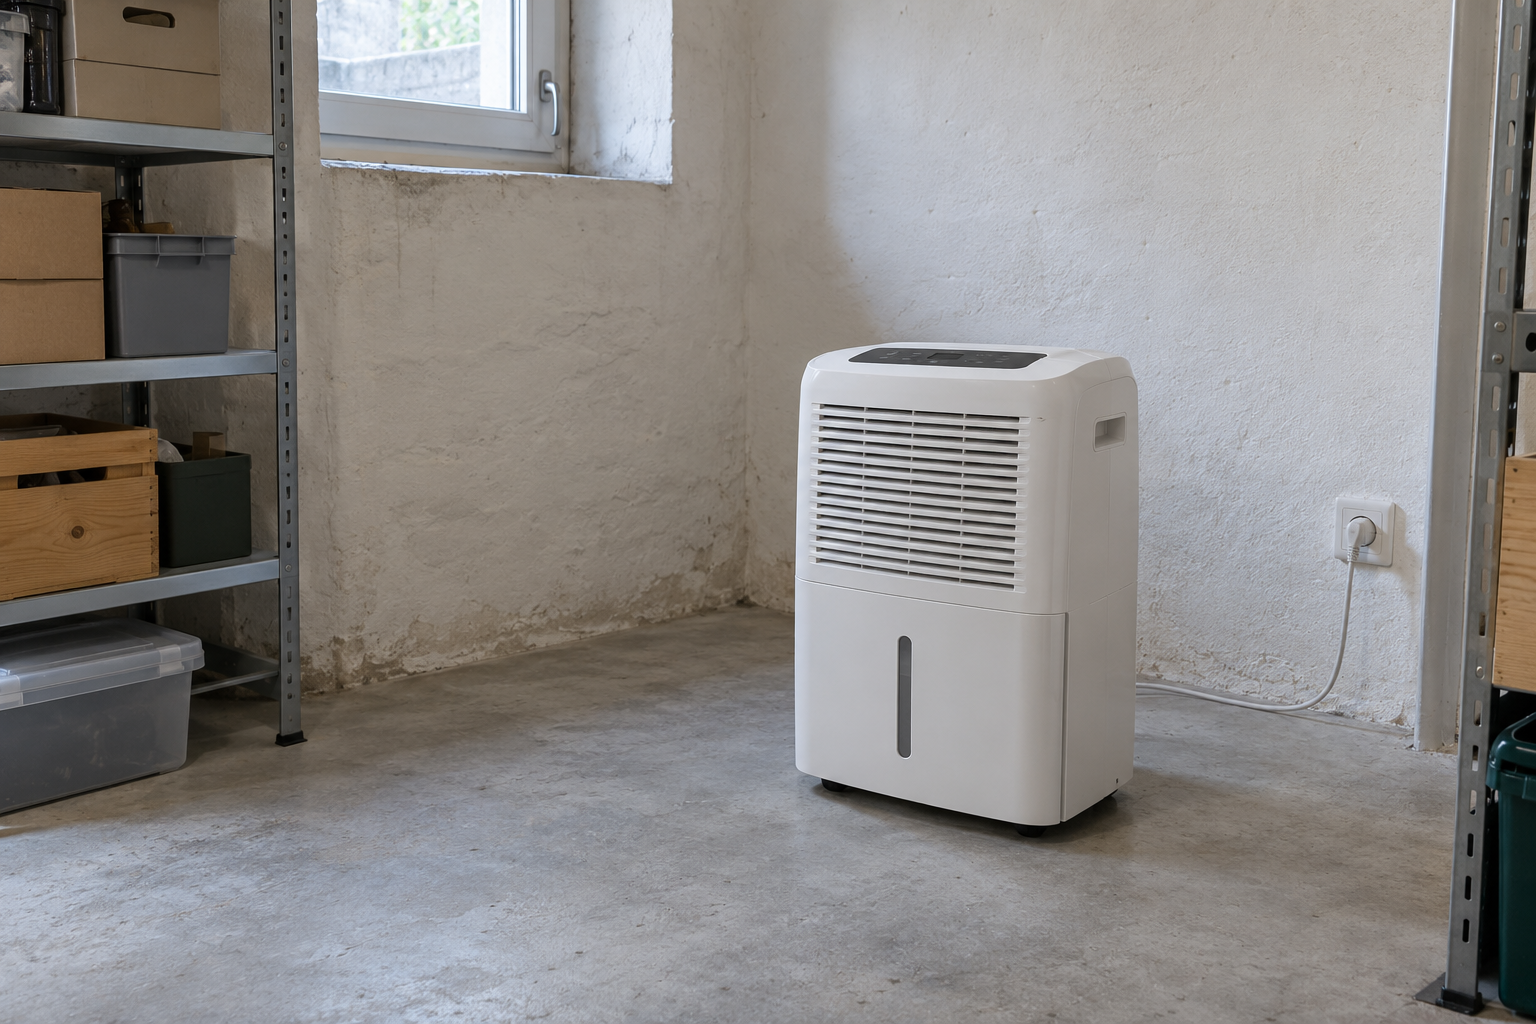

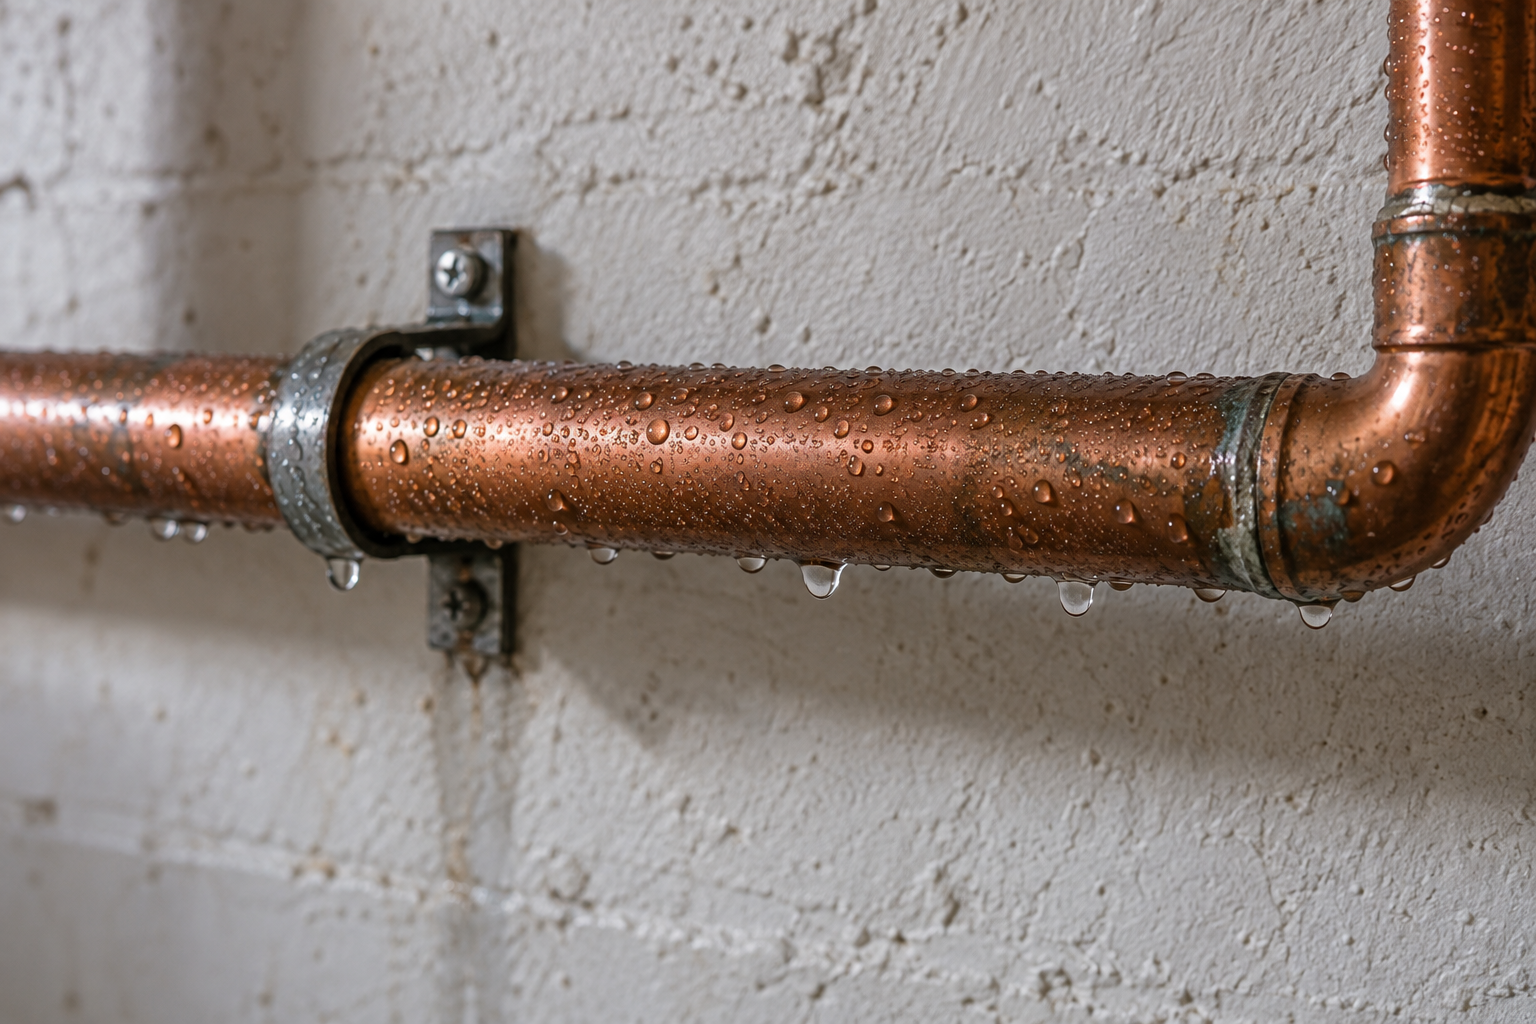
Water on basement pipes does not always come from inside the pipe. Small droplets can also form on a cold outer surface. Even so, recurring wetness and damp patches beneath pipework should not simply be dismissed.
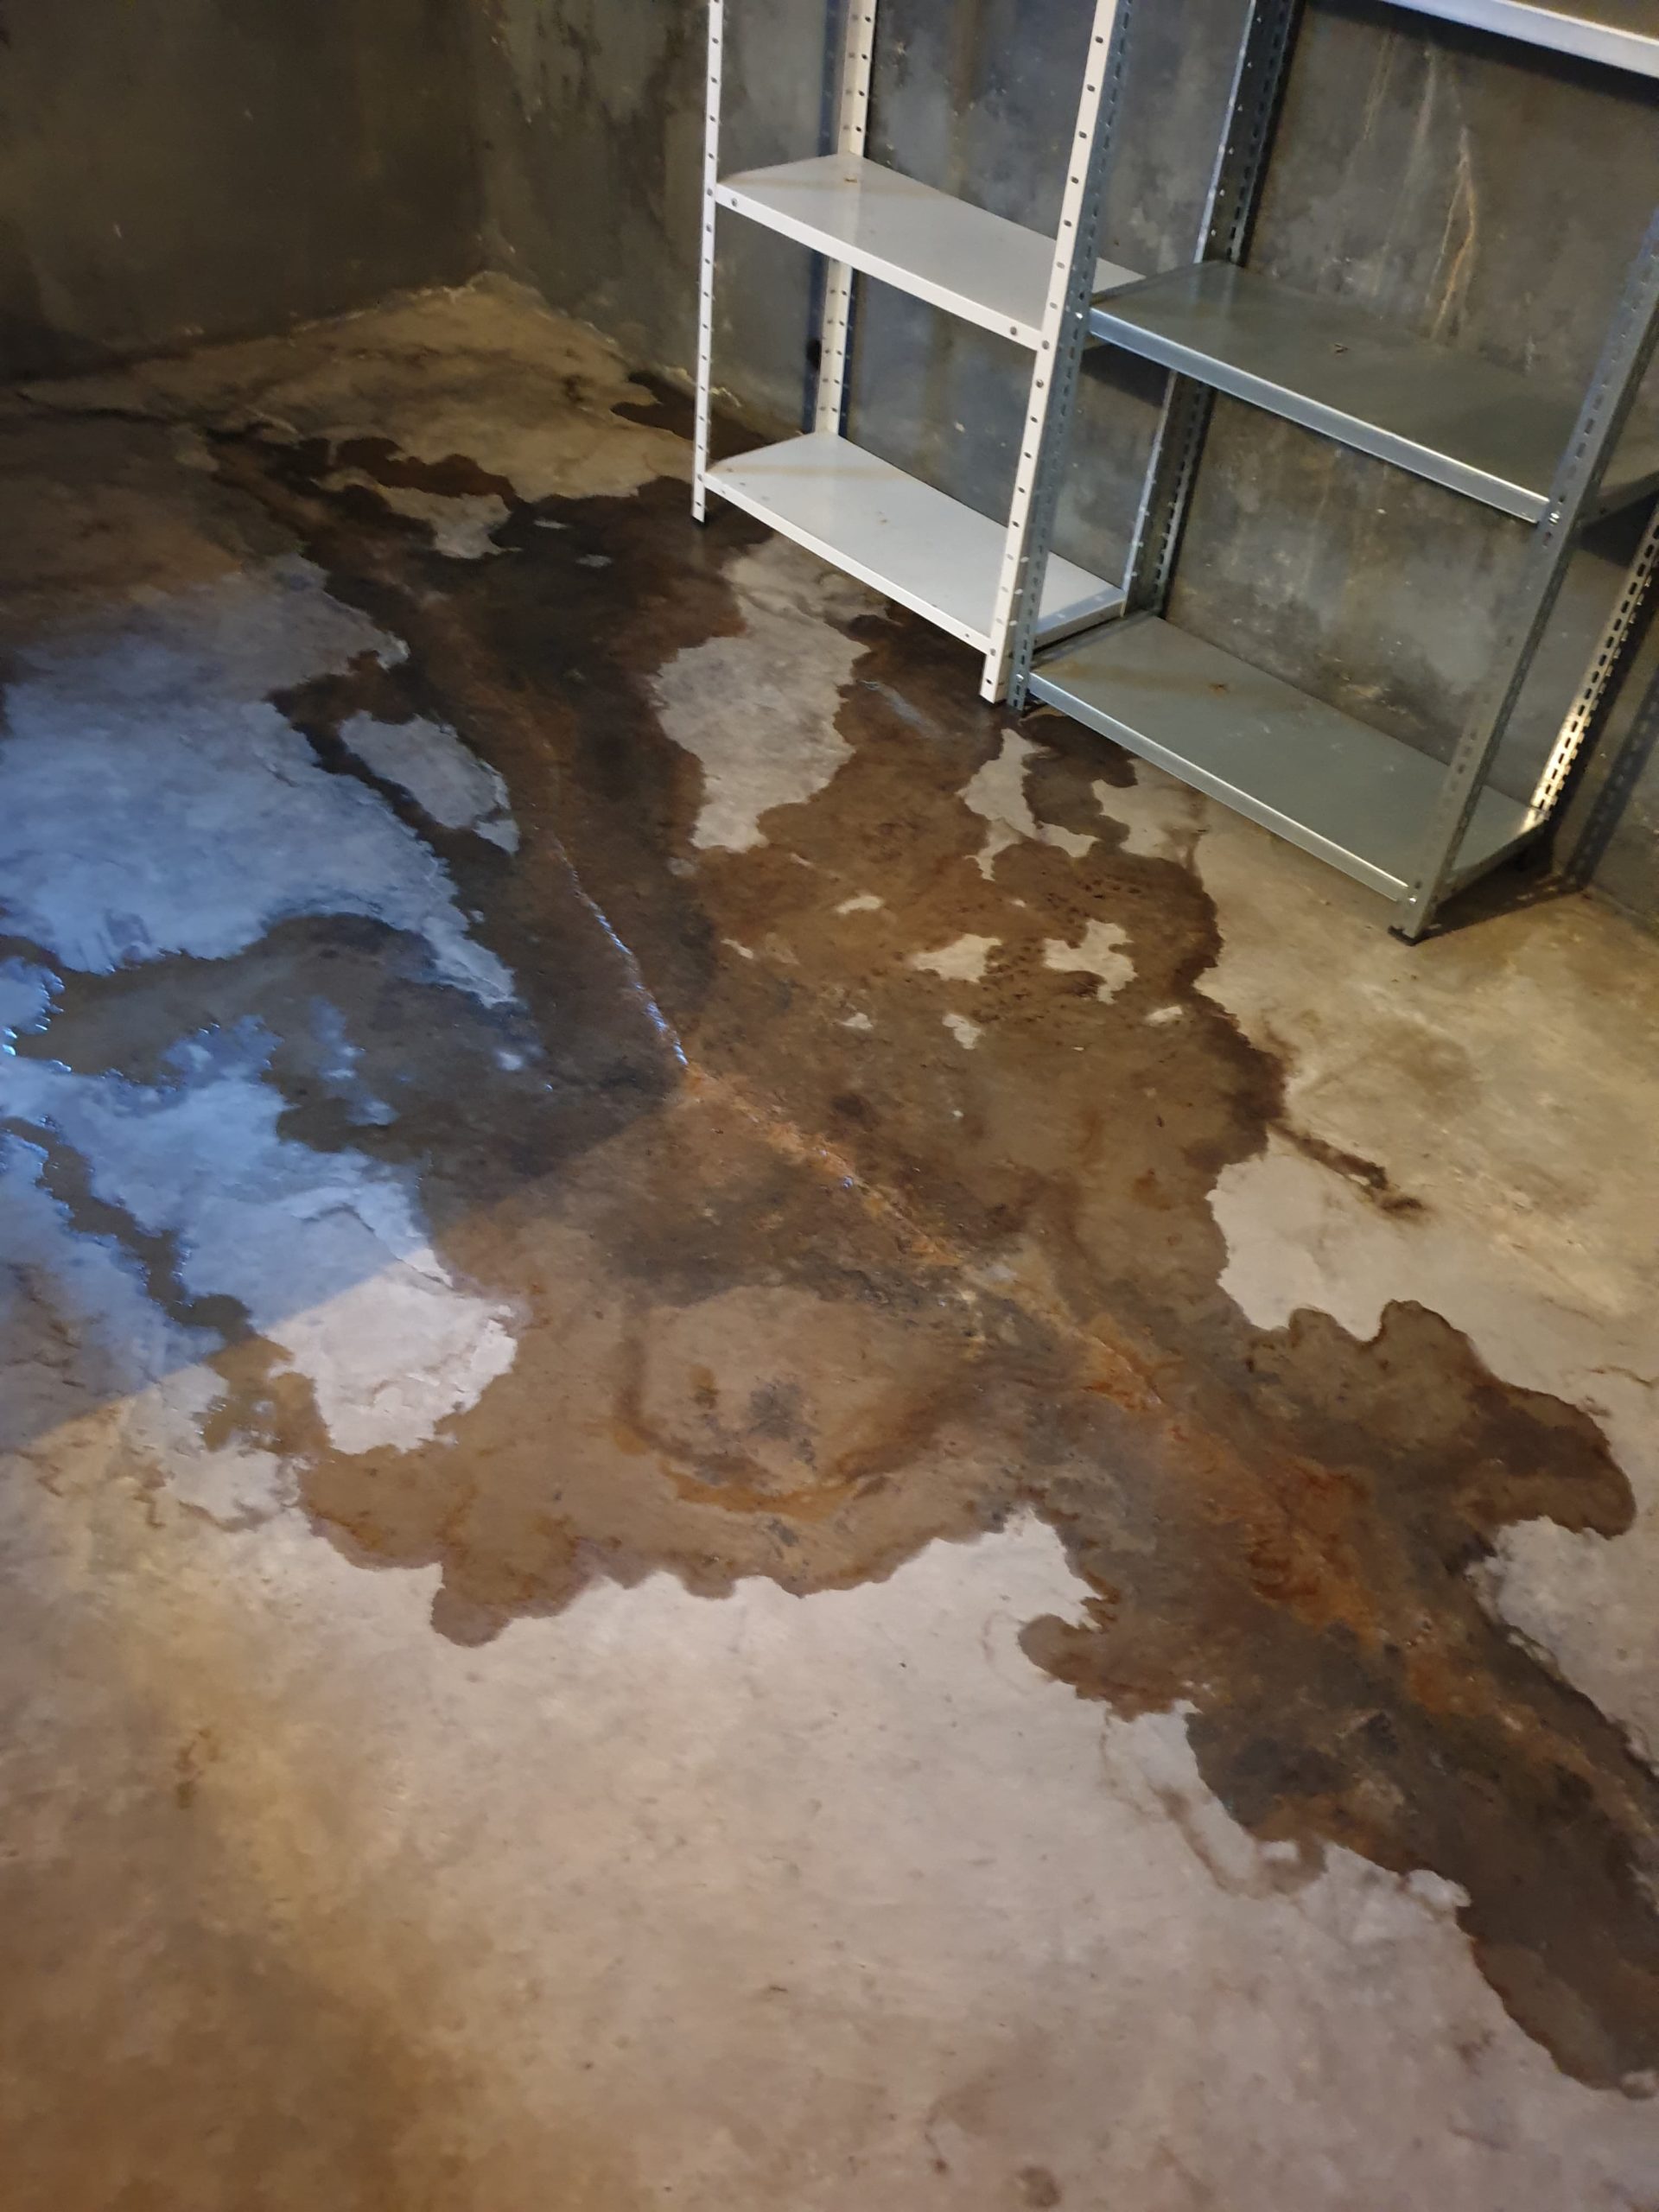
You might first notice a wet storage box, a mark on the floor or droplets hanging from a connection. These observations can help a plumber investigate, but they do not establish whether the cause is condensation or a leaking water pipe.
The following five tips explain what to record, when to seek professional help and why repairs should follow a confirmed diagnosis. A photograph provides useful context, but it cannot replace an inspection of the installation.
Condensation occurs when a pipe surface is cold enough for moisture in the surrounding air to condense on it. This can happen when cold water flows through exposed pipework in a humid room.
The droplets form on the outside rather than escaping through a damaged pipe. WaterSafe explains how temperature differences and humidity contribute to condensation on cold water pipes.
However, appearance alone is not enough to rule out a leak. Condensation and leakage can occur in the same installation, so avoid assuming that every damp area has the same explanation.
Describing a cold water pipe dripping tells your plumber what you have noticed. Establishing where that water originates requires further assessment.
Prepare a short description before contacting your plumber. Note when you first noticed the problem, whether it has changed and which parts of the room are affected.
Useful questions include:
Photograph the overall pipe route as well as the affected area. Keep dates with the images so that changes can be followed more easily. Installation records and details of previous repairs may also help.
If you already monitor room temperature and humidity, include those readings. They provide background information but do not prove where the water comes from. Do not tighten unfamiliar fittings or remove components simply to test a theory.
Persistent dripping, spreading damp patches or increasing damage should be investigated promptly. Peeling paint, musty smells and an unexplained rise in water consumption can also justify further checks. These signs may have different causes, so they should not be treated as a diagnosis on their own.
Concealed pipework can make the source difficult to locate. A qualified plumber may need specialist equipment to investigate without unnecessarily opening up large areas. WaterSafe outlines warning signs of hidden leaks and when professional leak detection may be needed.
For an obvious water supply leak, close the appropriate isolation valve or main stop tap if it is safe to reach and operate. Contact a plumber, and do not force a seized valve. WaterSafe provides advice on what to do when you discover a leak.
Do not delay action on an active leak while collecting several days of photographs. Documentation should support necessary repairs, not postpone them.
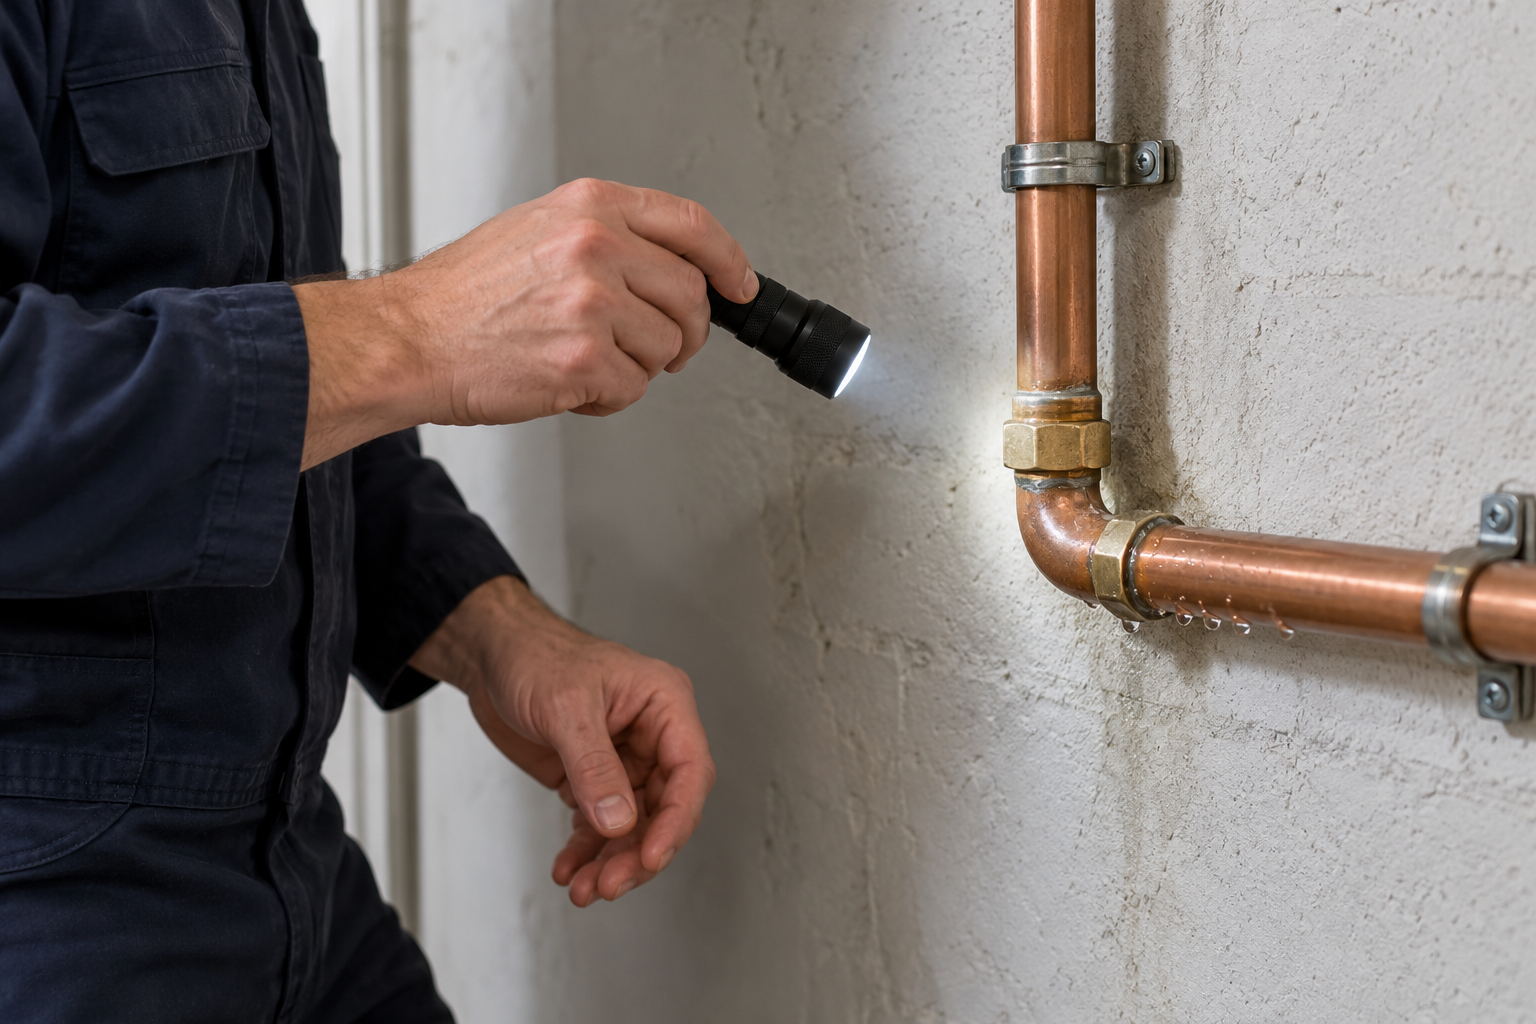
If condensation is confirmed, review indoor humidity and pipe insulation together. WaterSafe identifies insulation and moisture control as possible ways to address the problem in its guidance on condensation on cold water pipes.
Ask your plumber to recommend insulation suitable for the pipework and surrounding conditions. Existing wet or damaged insulation should also be assessed. Covering an unexplained wet section with additional material is not a substitute for finding the cause.
Before work begins, agree what will be changed and how the result will be checked. Ask which valves and connections need to remain accessible for maintenance.
Keep a record of the completed work. If water on basement pipes returns, this helps the next inspection build on earlier findings instead of starting again from incomplete information.
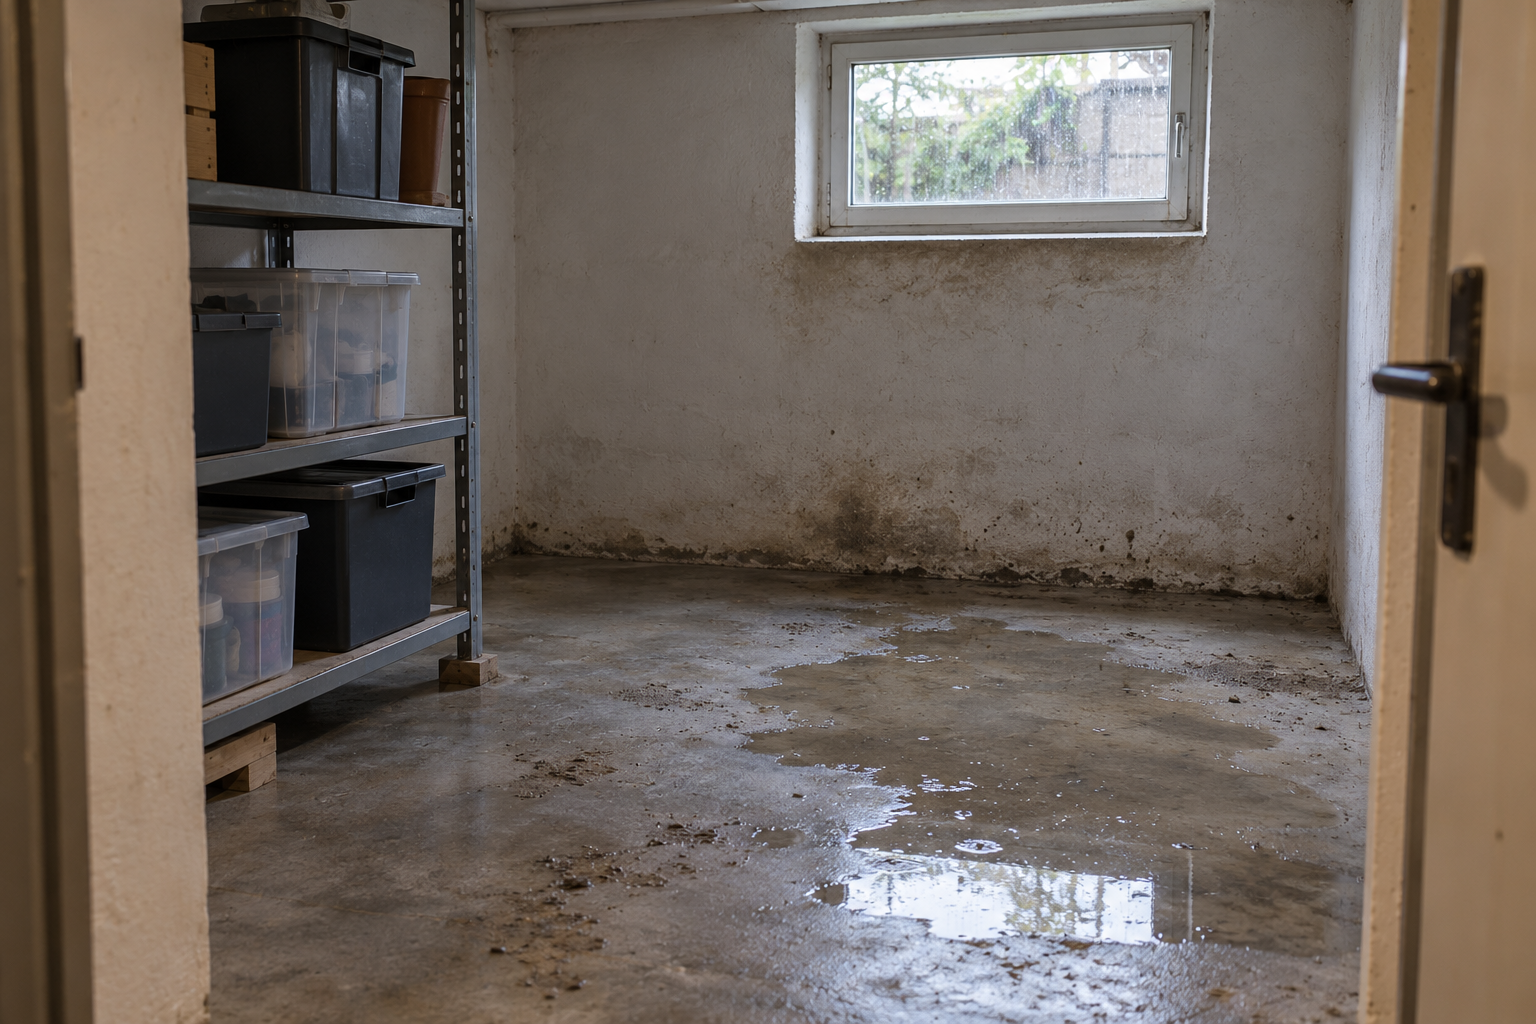
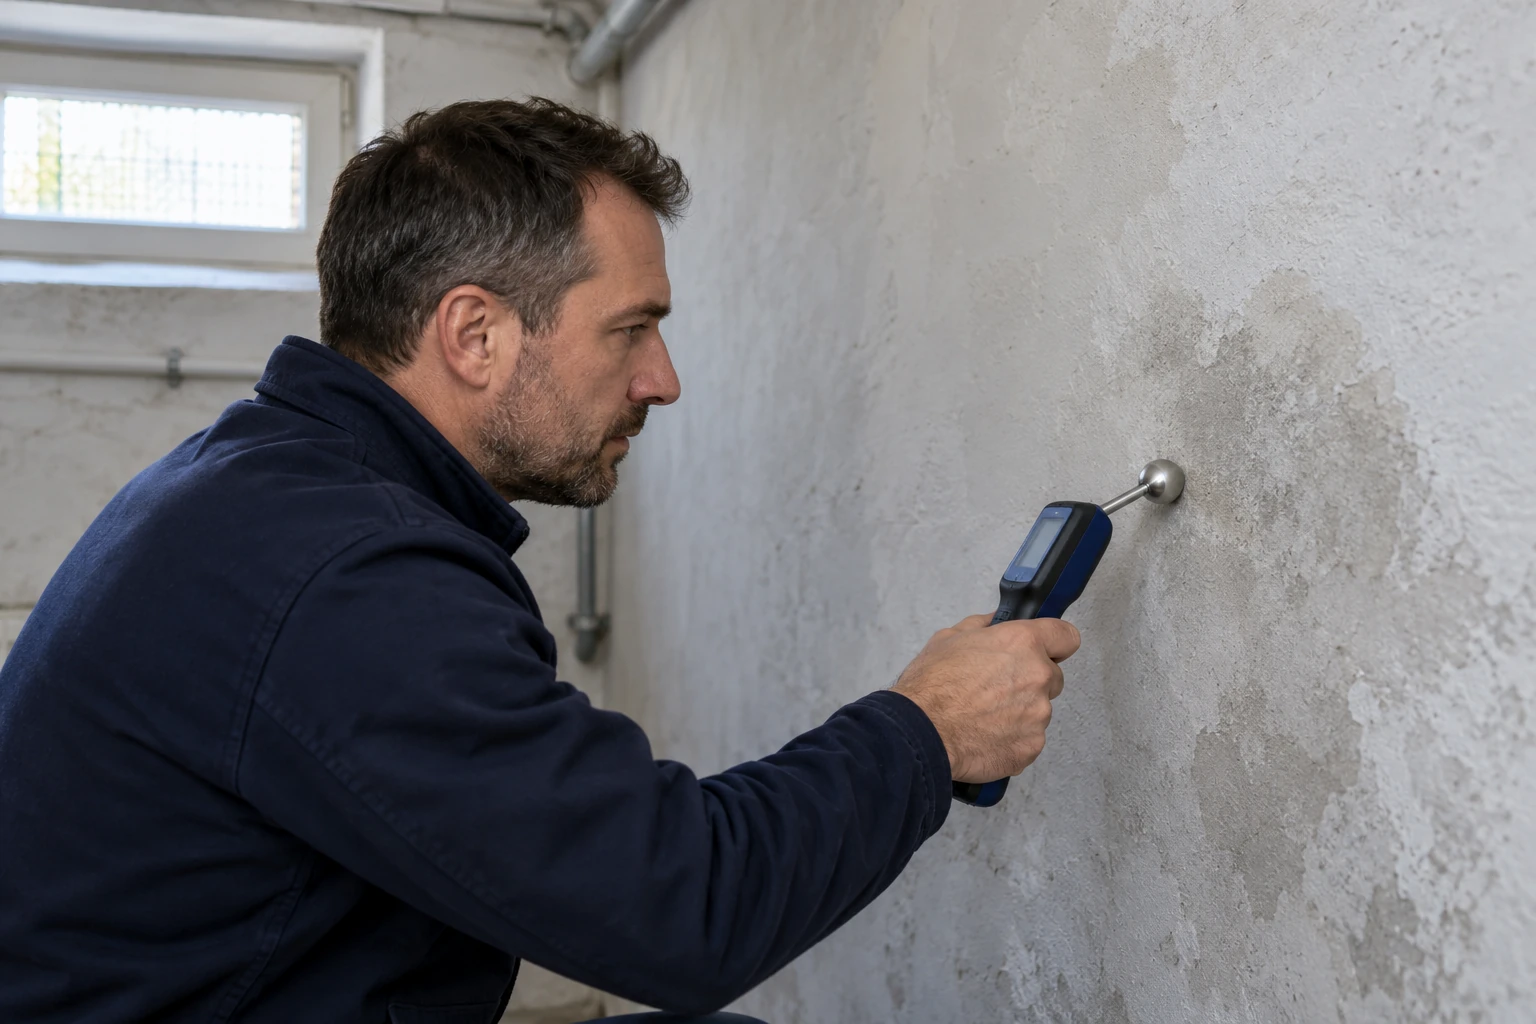
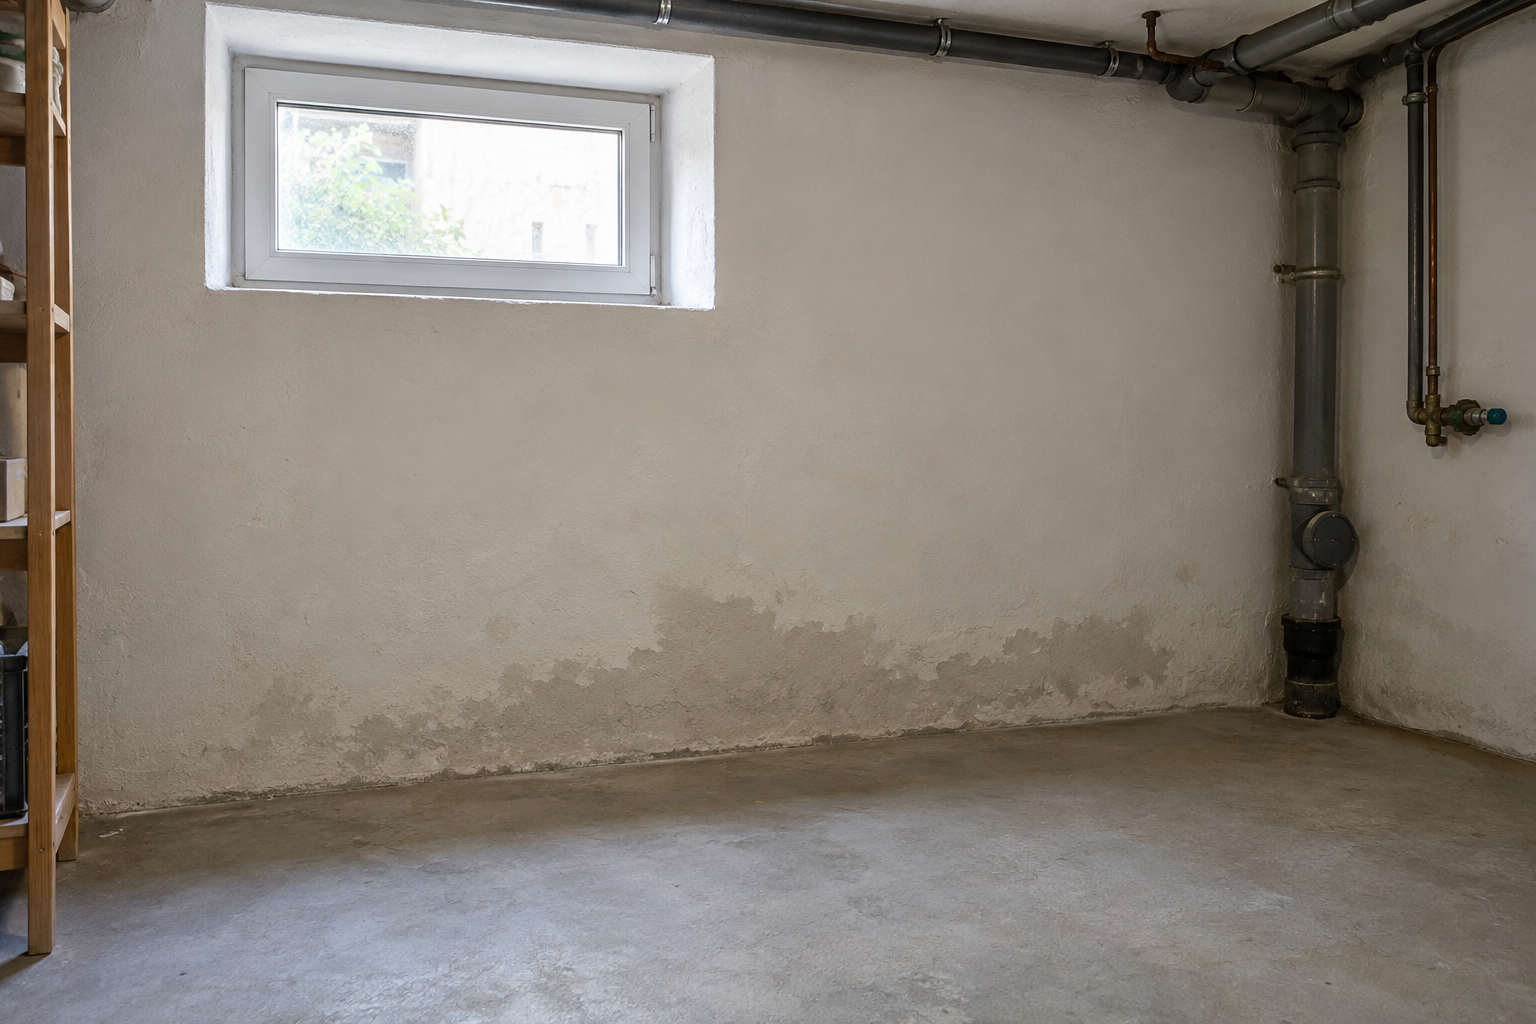
If a damp patch lies directly beneath pipework, include the installation in the investigation. Moisture on a wall and droplets on a pipe may be connected, but they can also result from separate problems.
Wall waterproofing does not repair a leaking pipe or prevent condensation on its outer surface. Likewise, fixing a leak does not automatically mean that previously soaked building materials are already dry.
Ask whether further drying or checks are needed before repainting or applying new finishes. Record which areas were affected and whether the damp patch changes after the plumbing work.
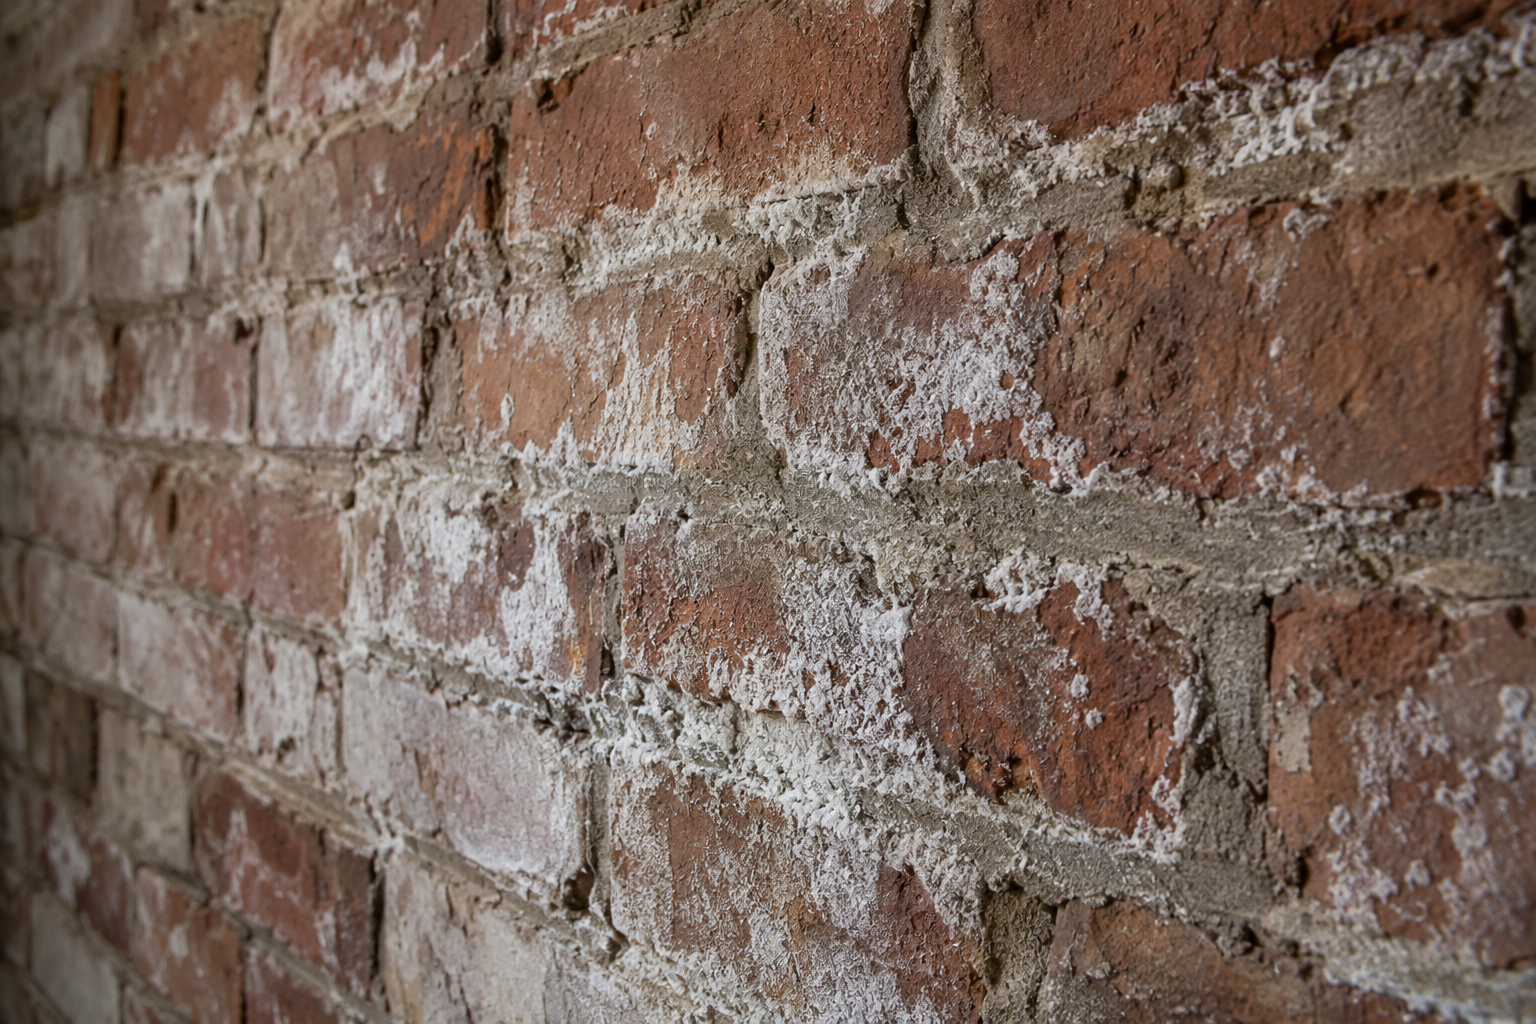
Keeping these observations separate makes it easier to distinguish a resolved pipe problem from an ongoing issue within the masonry.
If a separate moisture problem remains in the wall after the plumbing has been investigated, you can discuss whether Thor Protect may be suitable. The cause, substrate and existing coatings should inform that discussion.
You can read more about the product’s intended function on the Thor Protect “How It Works” page.
Prepare photographs, the plumber’s findings and details of previous repairs. Explain whether water on basement pipes is still appearing or whether that issue has been resolved. This provides a clearer starting point for assessing the affected wall and planning further steps.
PayPal uses Google reCAPTCHA to help secure the payment process. (More Information)
You are currently viewing a placeholder content from Vimeo. To access the actual content, click the button below. Please note that doing so will share data with third-party providers.
More InformationYou are currently viewing a placeholder content from YouTube. To access the actual content, click the button below. Please note that doing so will share data with third-party providers.
More InformationYou need to load content from reCAPTCHA to submit the form. Please note that doing so will share data with third-party providers.
More Information