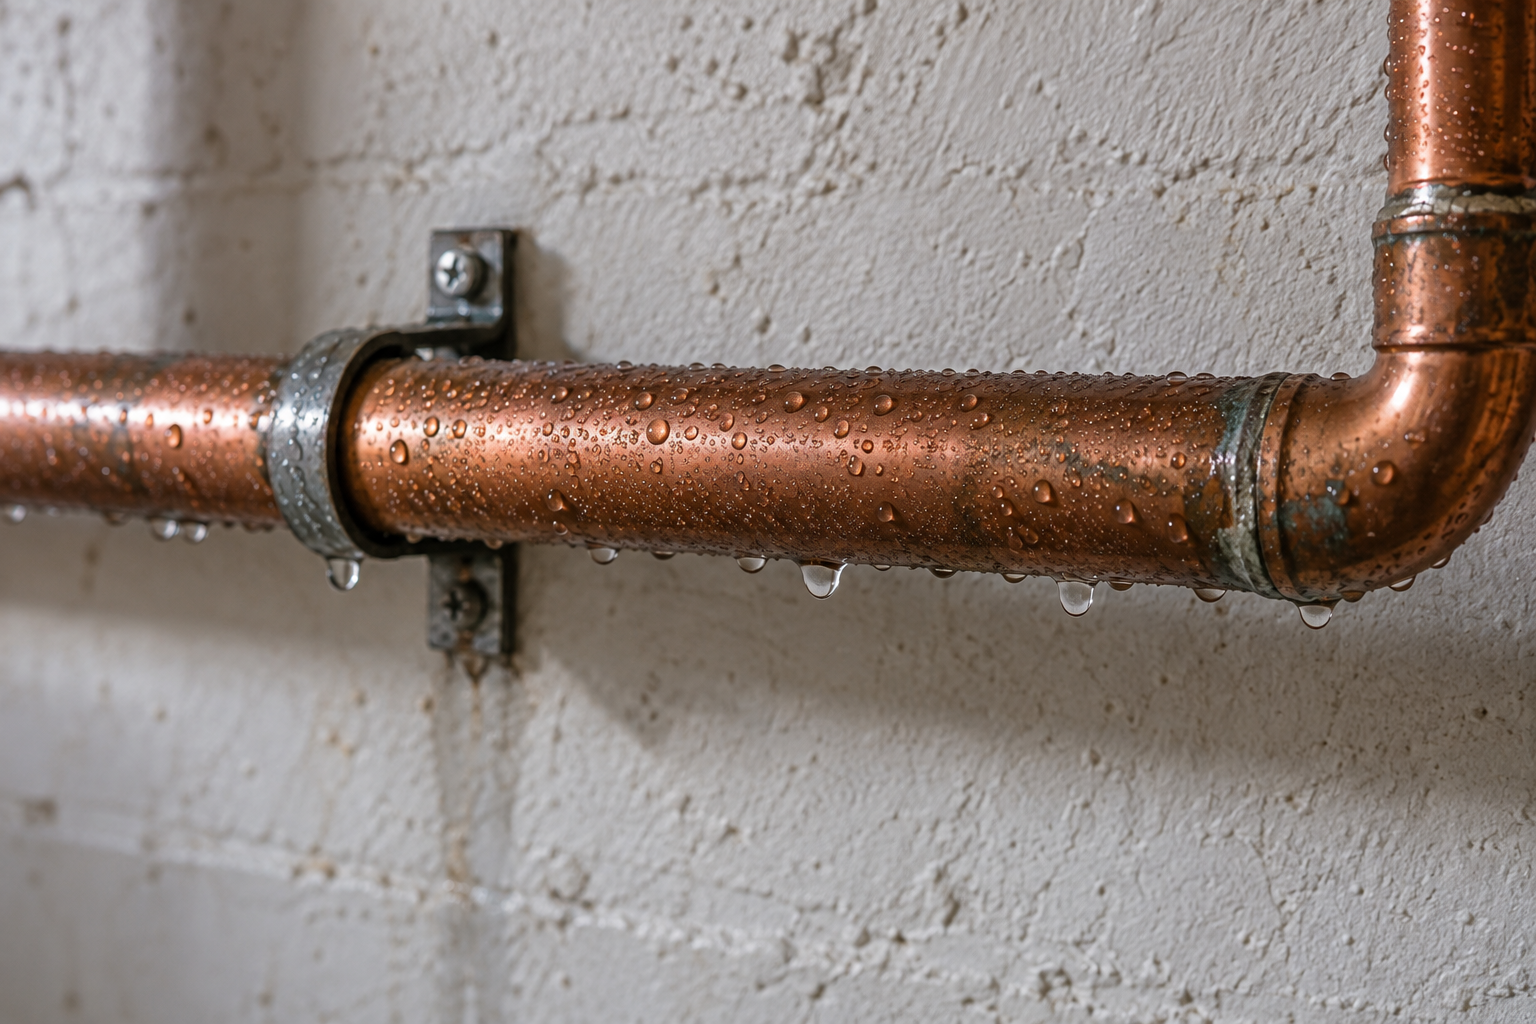

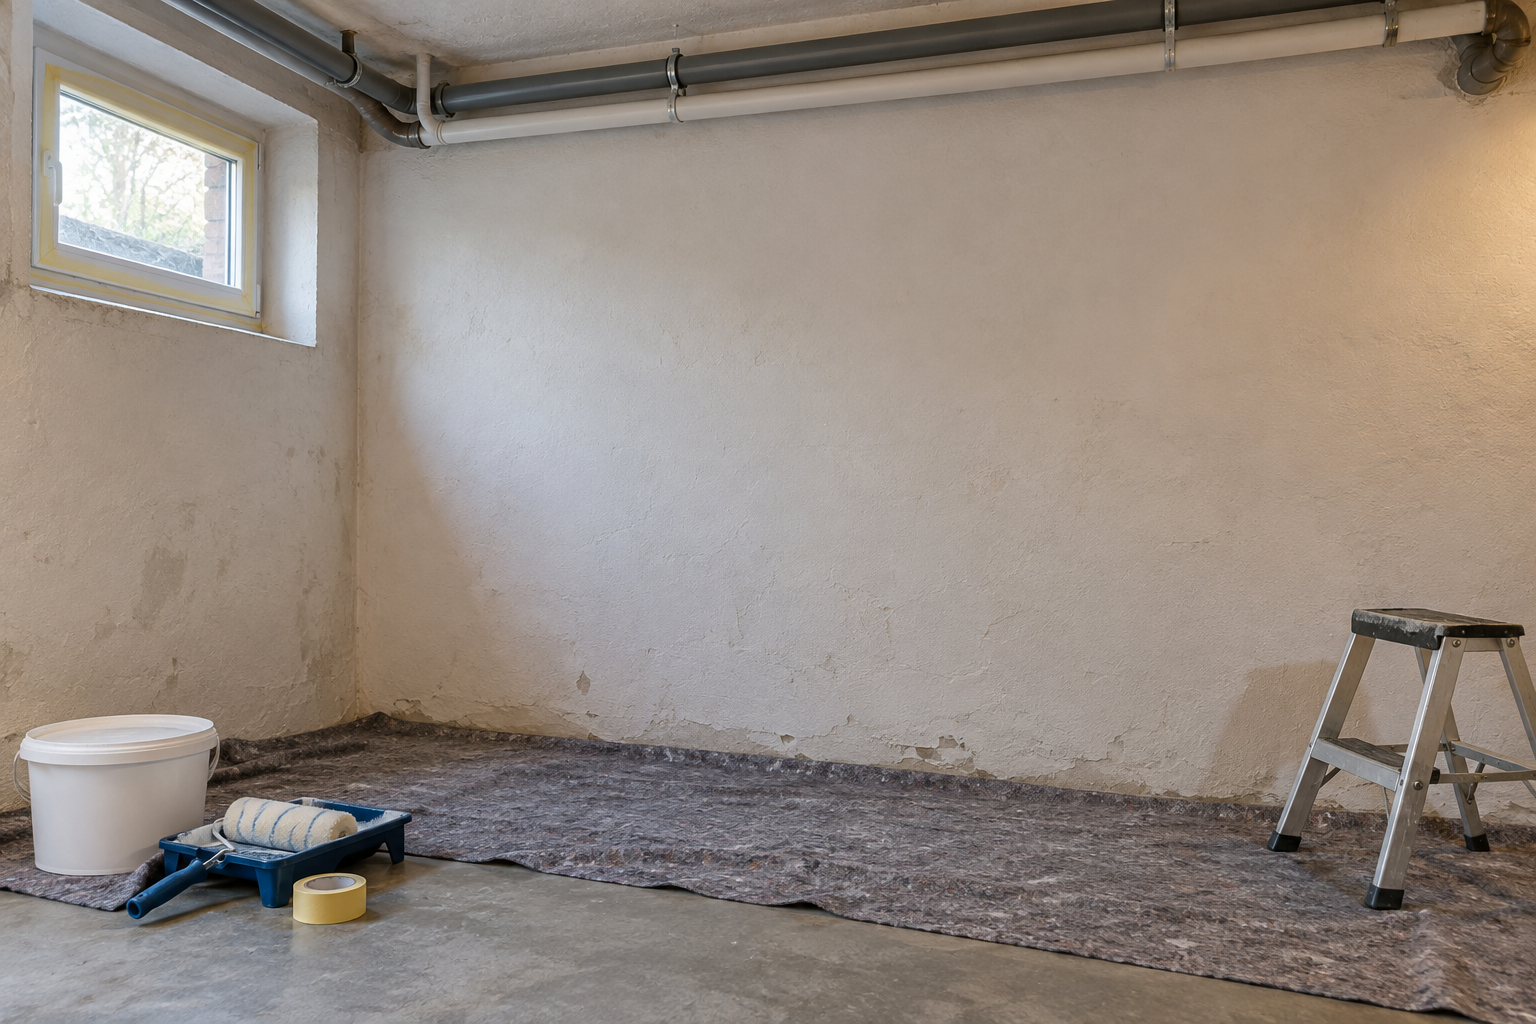
Painting basement walls is often about creating a brighter, tidier space. Before reaching for a brush or roller, however, it is worth checking the existing wall finish. Old paint, repaired plaster or previous waterproofing treatments can affect which coating is suitable.
Careful preparation helps resolve important questions before work begins.
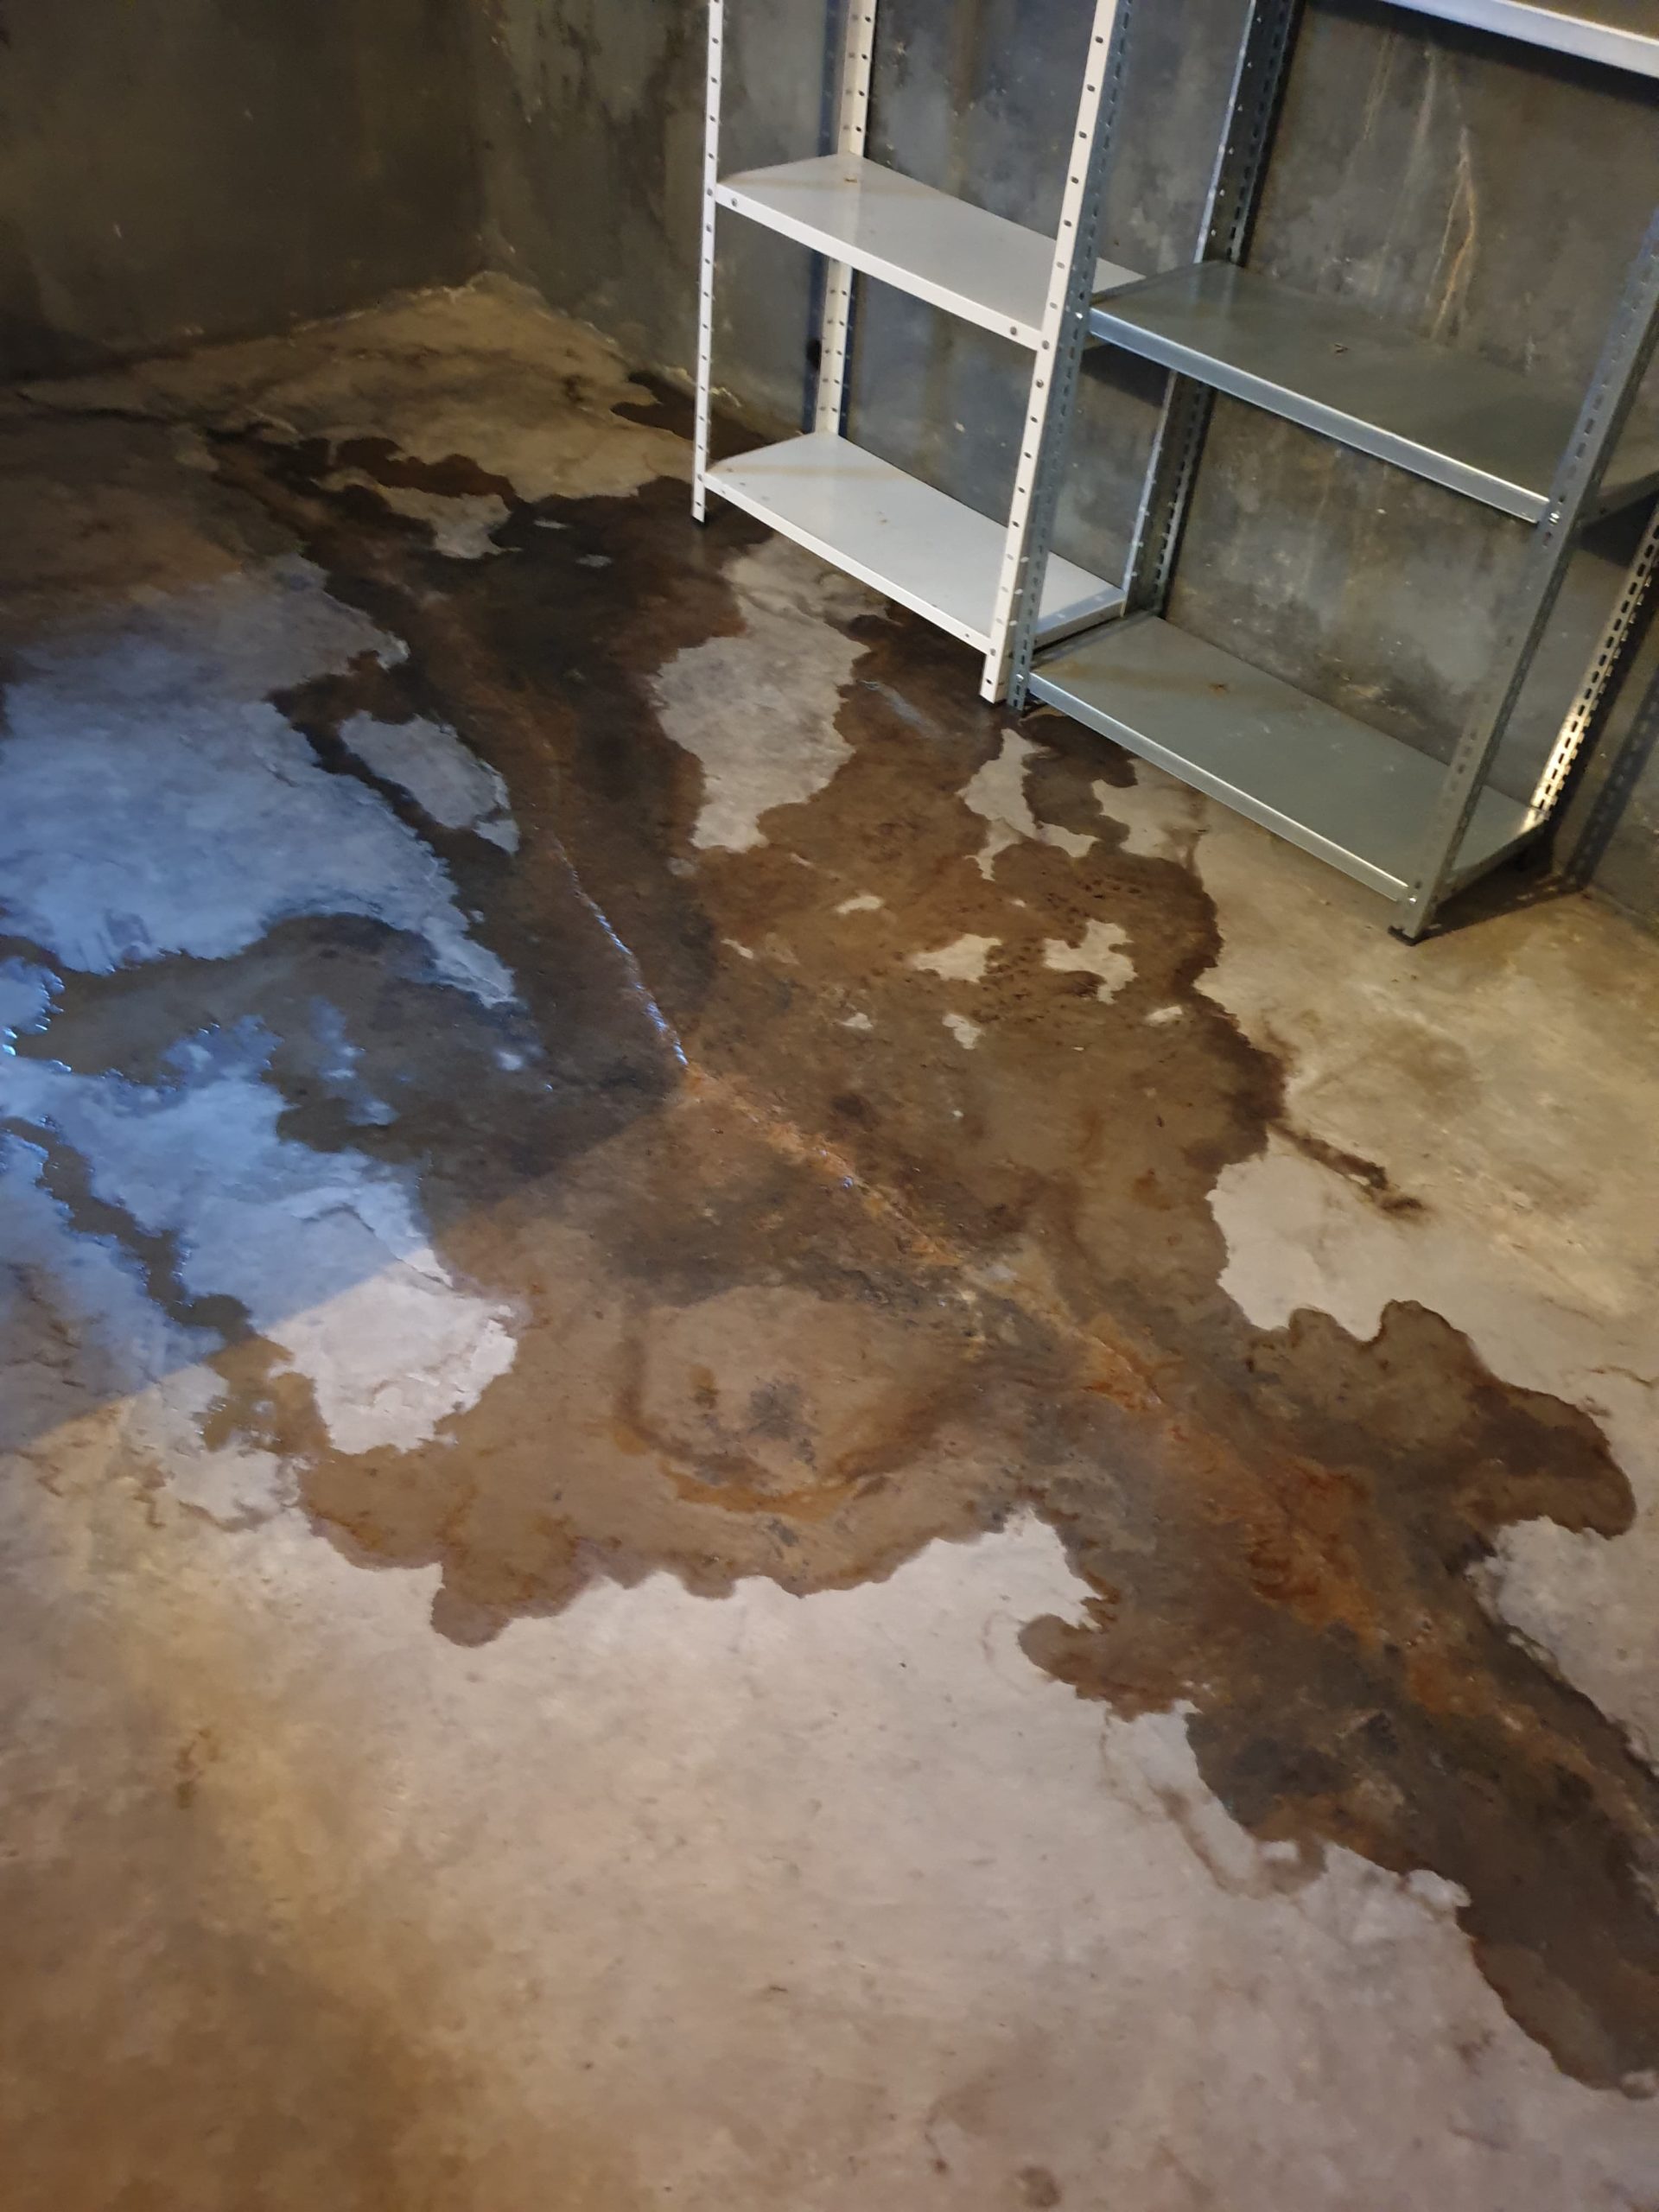
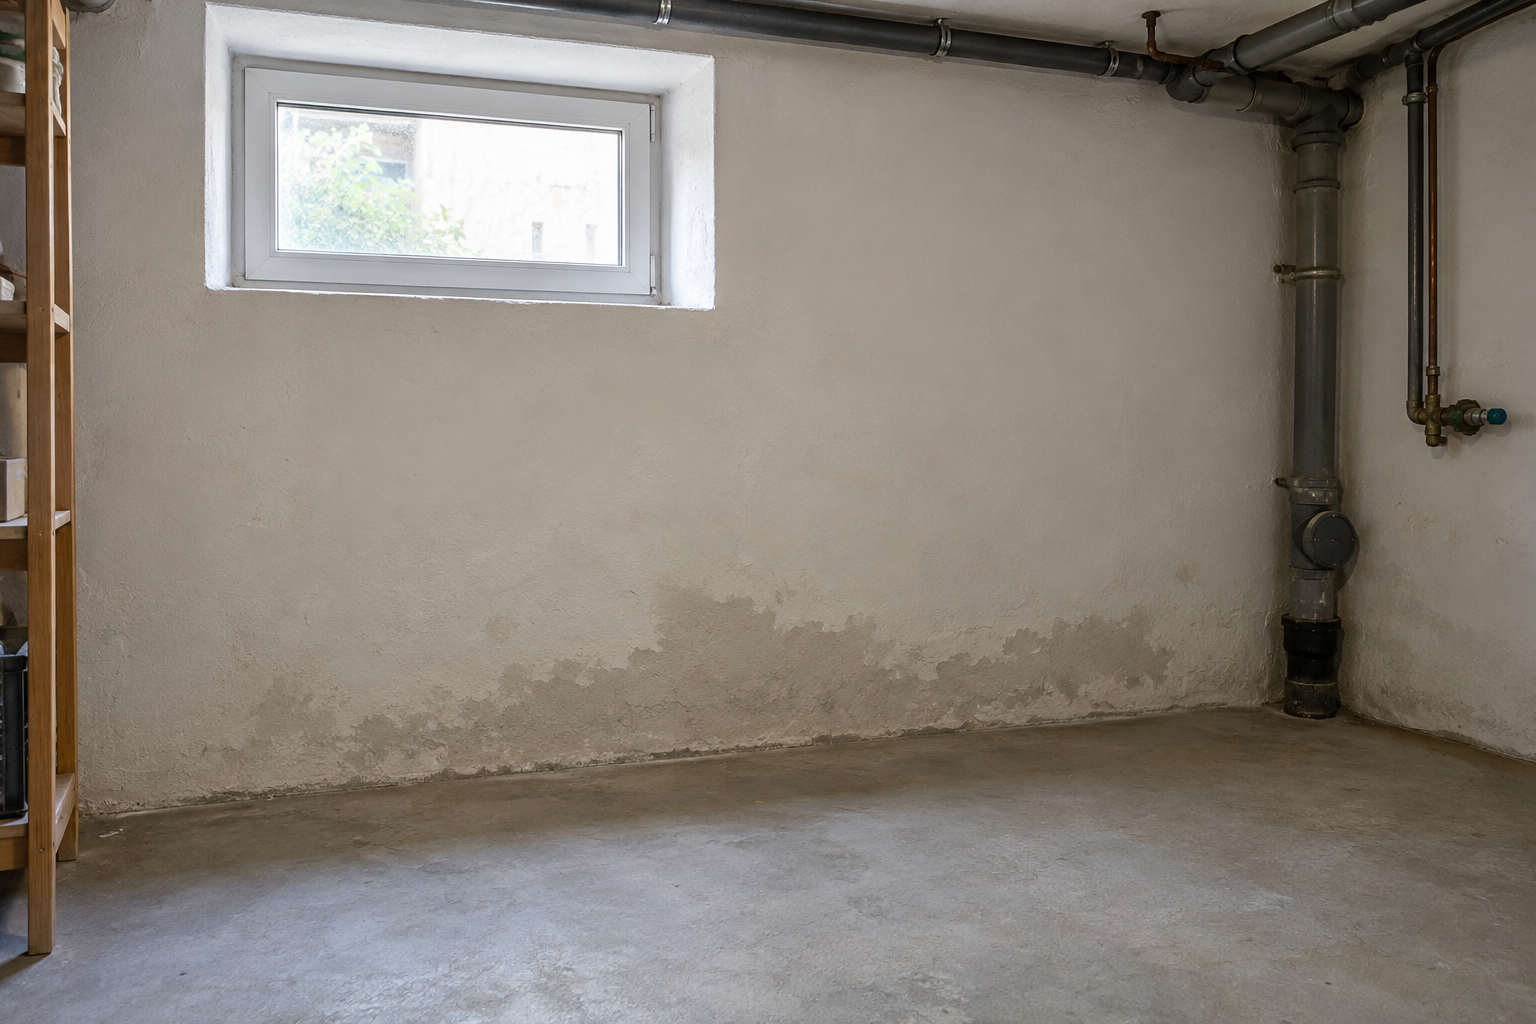
Faded paint is different from a damp patch that keeps returning. Start by noting what you want to improve and whether you have noticed any damage.
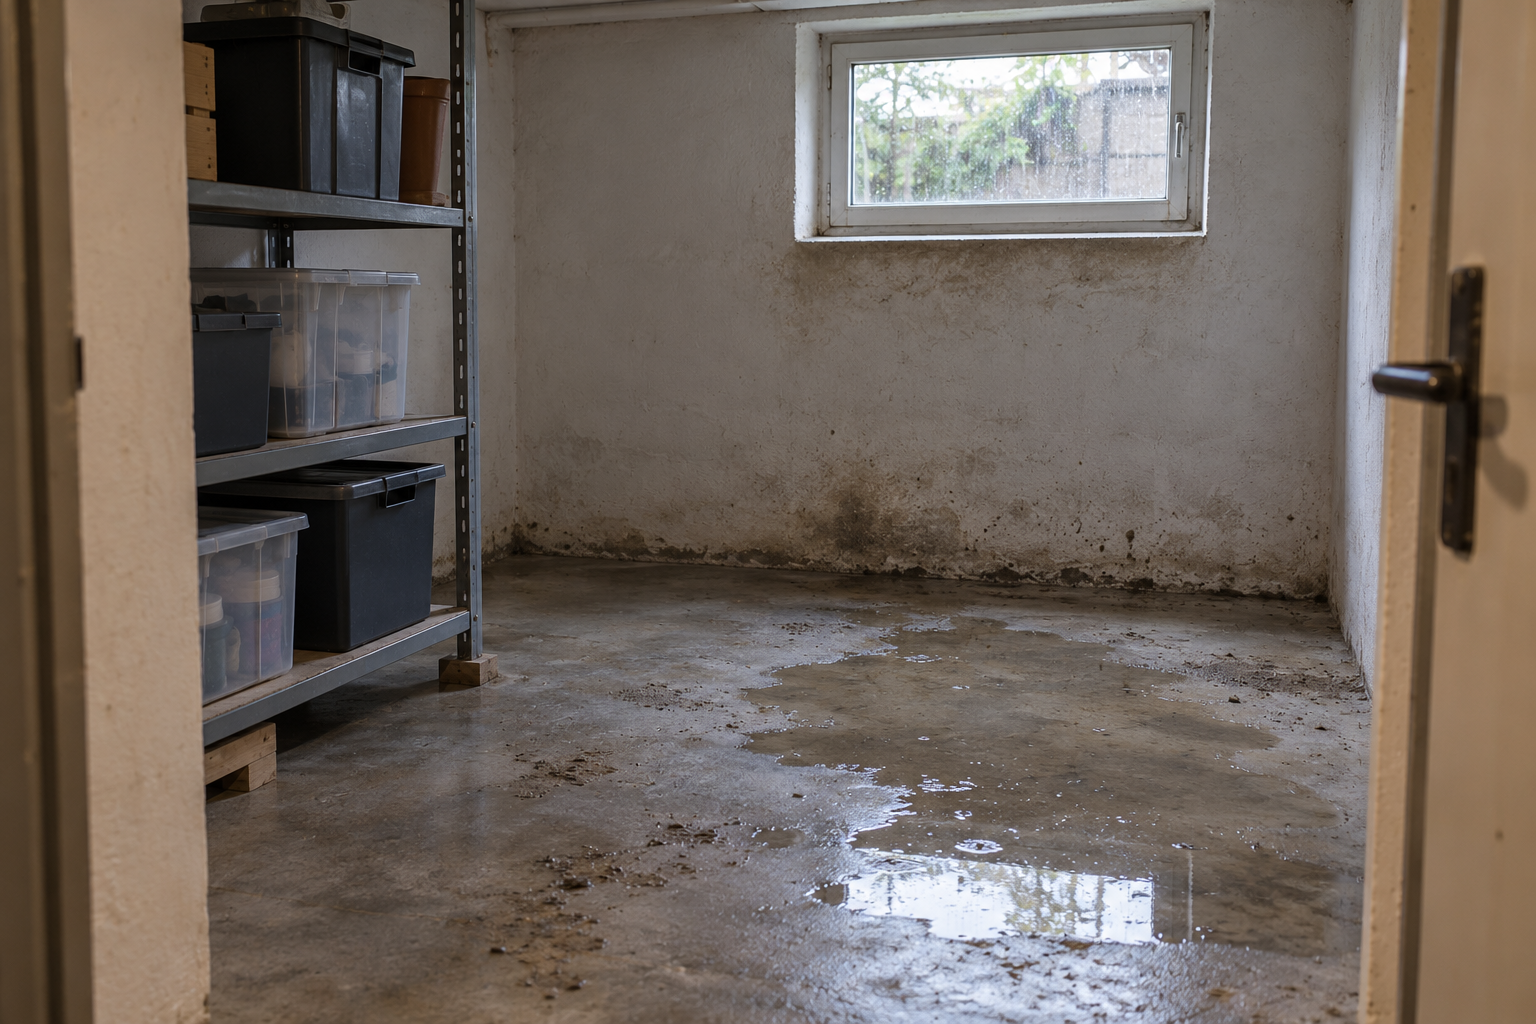
Visible mould should not simply be painted over. The German consumer advice organisation Verbraucherzentrale explains that the source of moisture must be identified and addressed to resolve the problem in the long term. Information on dealing with mould.
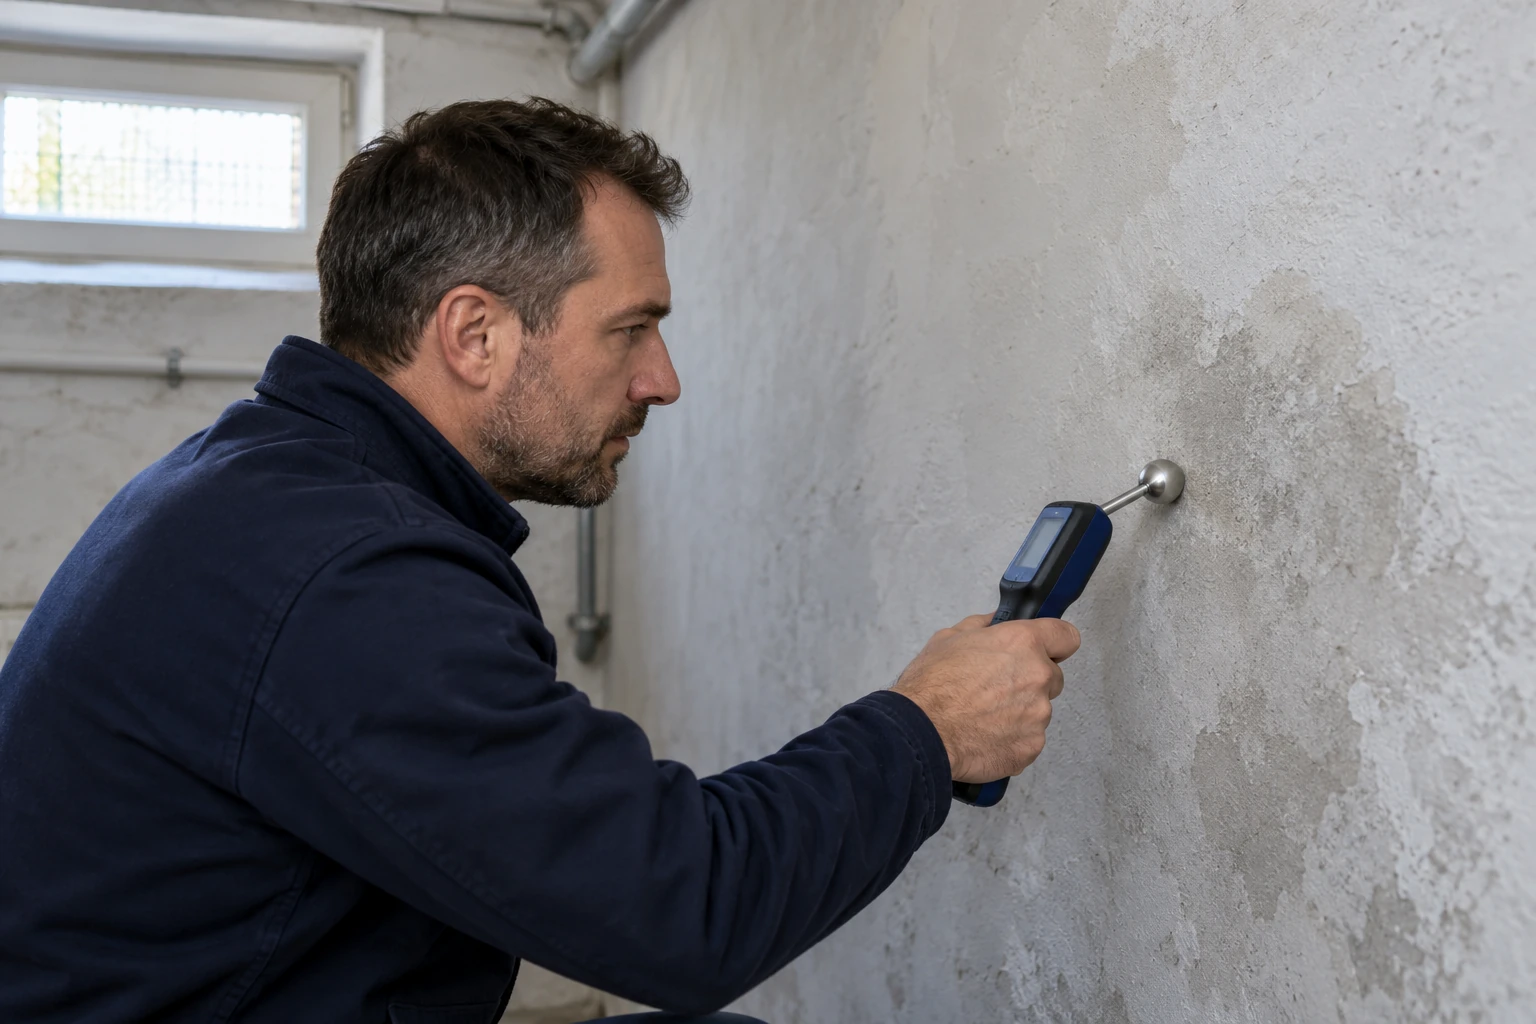
If something looks unusual and the cause is unclear, have it assessed before redecorating. Our article “Damp Basement Walls: Understanding the Possible Causes” helps you prepare observations for a consultation.
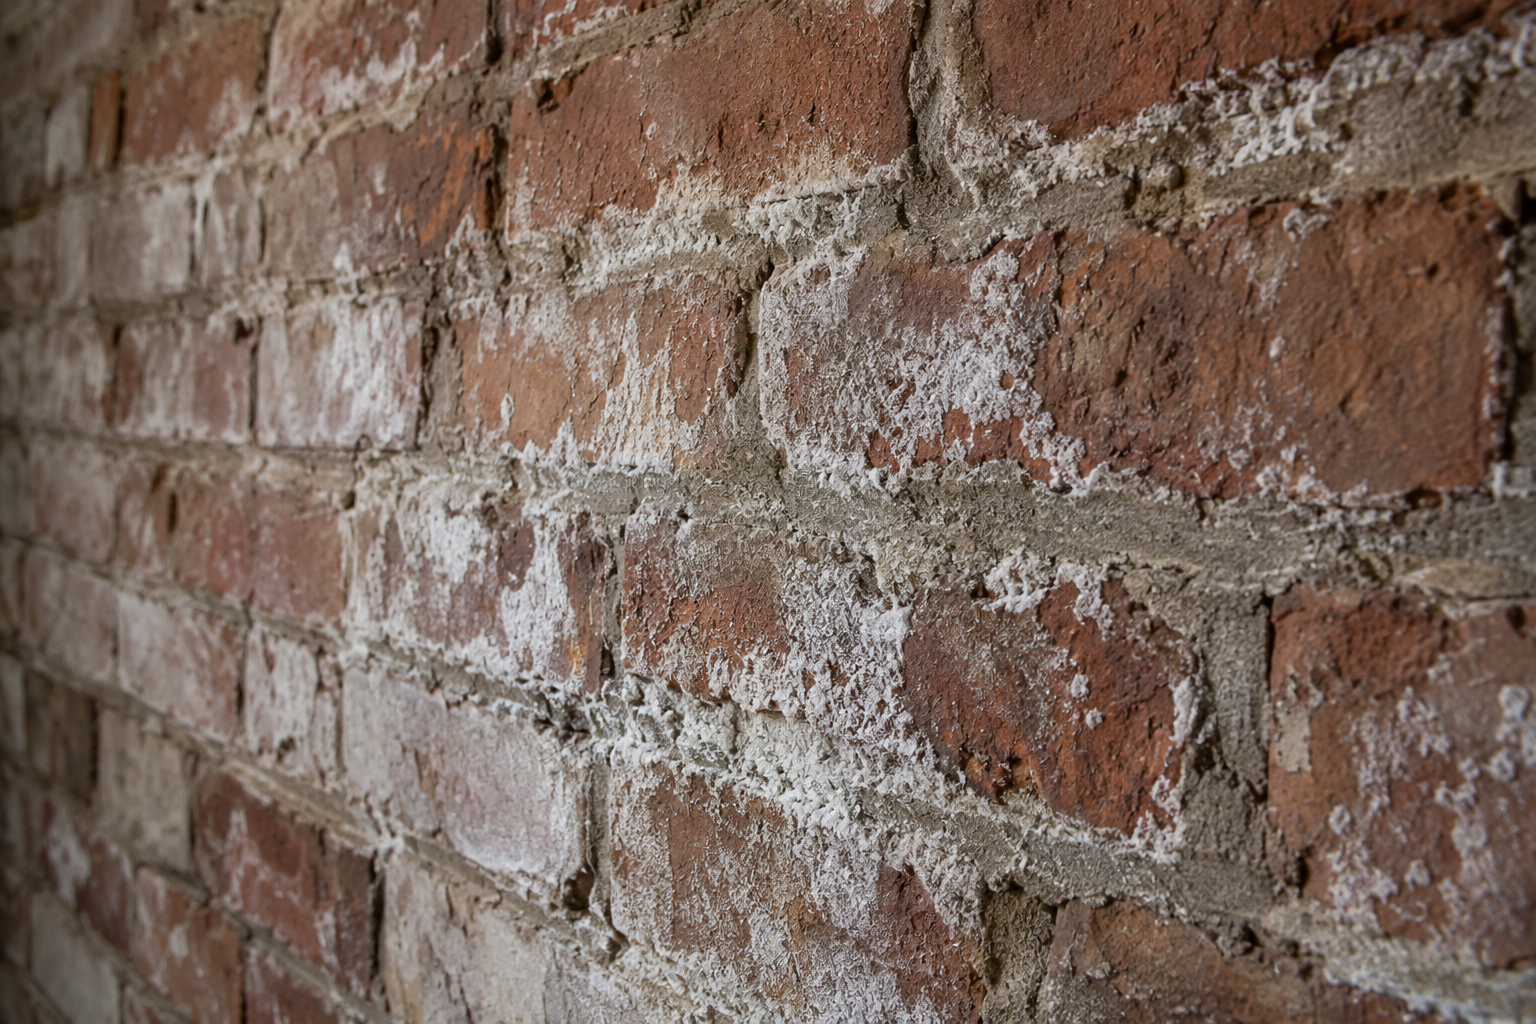
Is the wall plastered, exposed masonry or covered with several layers of paint? Look for old invoices, product names or records of previous work. This information makes it easier to choose a suitable new finish.
Preparation requirements are set out in the paint manufacturer’s technical data sheet. This explains, for example, how existing coatings and different surfaces should be handled. Example of manufacturer guidance on surface preparation.
If the wall construction and finish are unknown, have them assessed before ordering materials. A photograph alone cannot reliably show which layers are present.
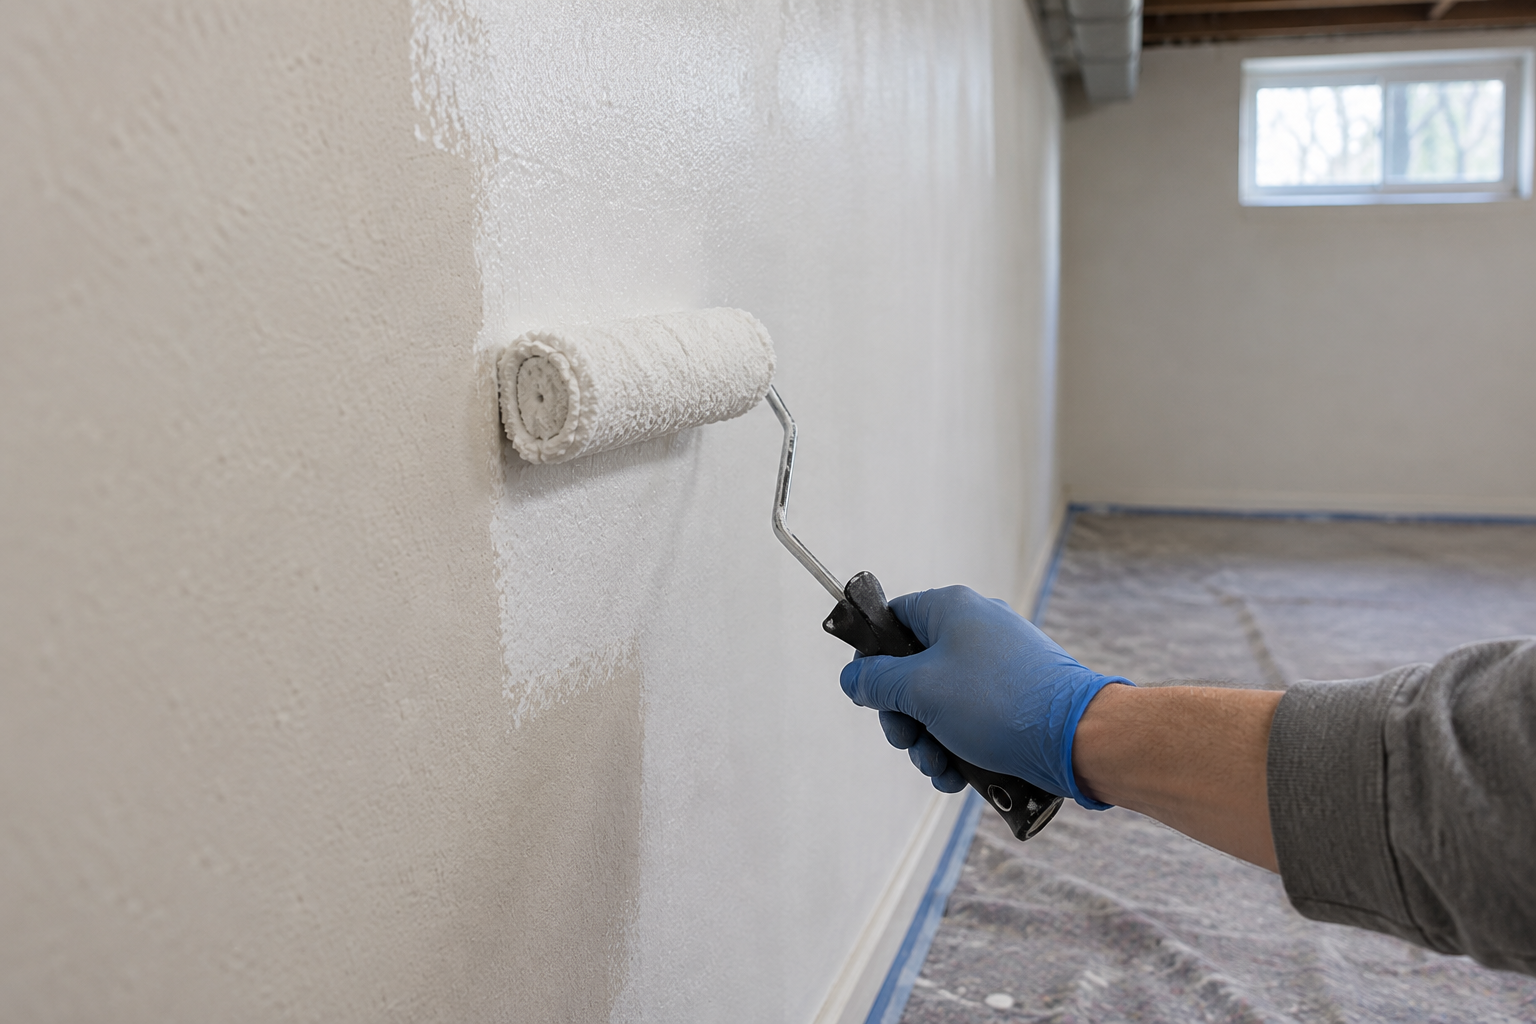
Do not choose a paint solely for its colour or coverage. Check whether the product is intended for the existing surface and the way the room will be used.
If the wall has already been waterproofed or treated with a specialist system, mention this during the consultation. Ask specifically which primer and finishing coat can be used with it.
If you are considering Thor Protect, discuss the intended final wall finish in advance as well. Follow the current Thor Protect application instructions.
Write down the intended sequence. What preparation is required? Is a primer needed? How many coats does the manufacturer specify? What waiting times must be observed?
Do not plan the work solely around a free weekend. The selected products’ application requirements and the actual conditions on site determine the schedule.
Clear the affected walls and decide where stored items can go while work is underway. This avoids repeated rearranging and keeps the working area organised.
Retain product names, technical data sheets and details of the work. Record which material was used on each wall and when it was applied.
Photographs taken before and after decorating are a useful addition. They help answer questions later and provide a comparison if changes reappear.
An even coat of paint initially shows the visual result. On its own, it does not confirm that a previous moisture problem has been resolved.
Would you like to redecorate your basement walls and find out whether treatment with Thor Protect would be appropriate first? Describe the condition of the walls, any known previous treatments and the paint finish you would like to use.
Together, we can clarify what further information is needed to assess suitability.
PayPal uses Google reCAPTCHA to help secure the payment process. (More Information)
You are currently viewing a placeholder content from Vimeo. To access the actual content, click the button below. Please note that doing so will share data with third-party providers.
More InformationYou are currently viewing a placeholder content from YouTube. To access the actual content, click the button below. Please note that doing so will share data with third-party providers.
More InformationYou need to load content from reCAPTCHA to submit the form. Please note that doing so will share data with third-party providers.
More Information