
Basement lightwell cleaning is easily overlooked during routine maintenance. Leaves collect on the grating, while soil and plant debris settle underneath. Often, the area only attracts attention when water remains in the well or a damp patch appears beside the basement window.
Regular checks can help you notice changes sooner. The task involves more than removing visible dirt: consider the grating, well, drainage and window connections together. These five checks explain what to look for during maintenance and when a professional assessment is appropriate.
Contents
Begin by looking at the area from outside. Is the grating seated securely? Can you see any damage? Could loose leaves be removed from above without lifting the cover? Start with the parts that are easy to reach from a safe position.
If the cover needs to be opened for further work, follow the manufacturer’s instructions and check how it is secured. Do not force a heavy or locked grating. Make sure nobody can step into the opening, and do not leave it unattended while the cover is removed.
Do not climb into a narrow or deep well to clean it. If debris cannot be reached safely from outside, arrange help from an appropriate contractor. Identify any cables, ventilation openings or equipment before starting, so that cleaning does not interfere with them.
Safe access is part of basement lightwell cleaning, even when the visible job appears small. If the cover is unstable or its fixings are unfamiliar, resolve that issue before proceeding.
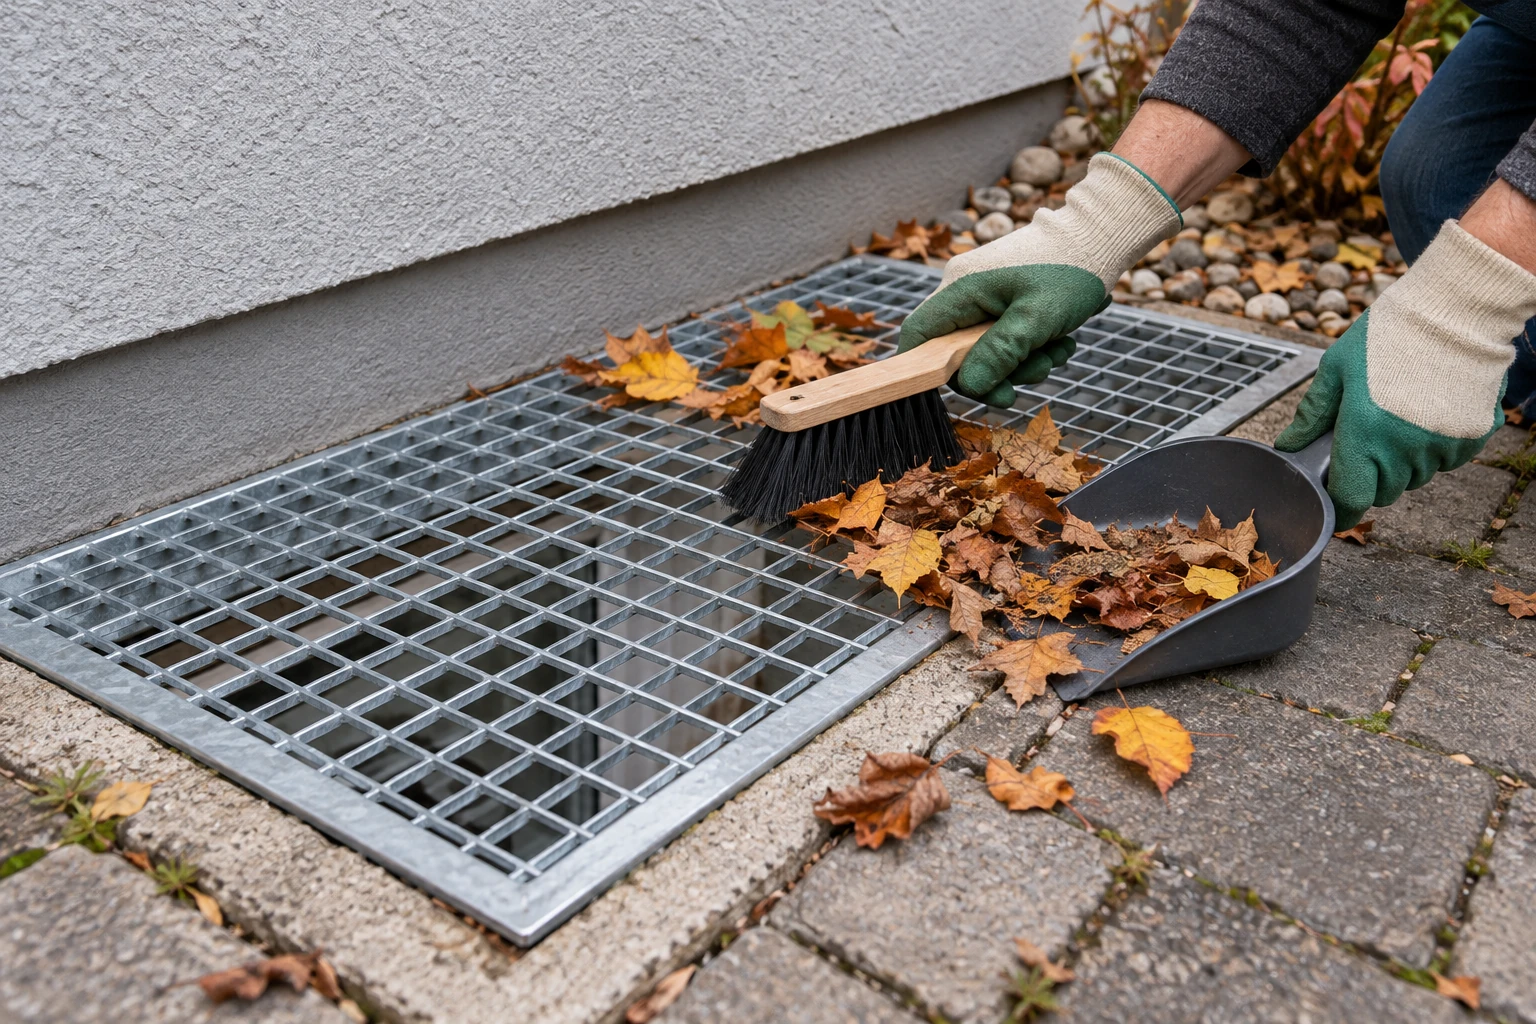
Begin with loose deposits. Collect accessible leaves and plant debris rather than pushing them further down the well or towards an outlet. A hand brush and dustpan may be sufficient for cleaning the top of an intact grating.
The importance of removing debris also applies to nearby surface drainage. ACO UK explains how leaves and sediment can obstruct channel drains and cause water to collect.
Its instructions concern those drainage products, so use them as background information rather than as a cleaning manual for every lightwell. Read ACO UK’s guidance on maintaining channel drains.
For further cleaning, follow the instructions for your particular well, cover and drainage components. Materials and finishes differ, so a method suitable for one installation may not suit another. Check compatibility before using any cleaning product.
Avoid an improvised flushing attempt using large amounts of water when you do not know where the outlet leads. First establish how the well drains and what maintenance its components require.
Removing visible debris does not confirm that the rest of the drainage route is clear.
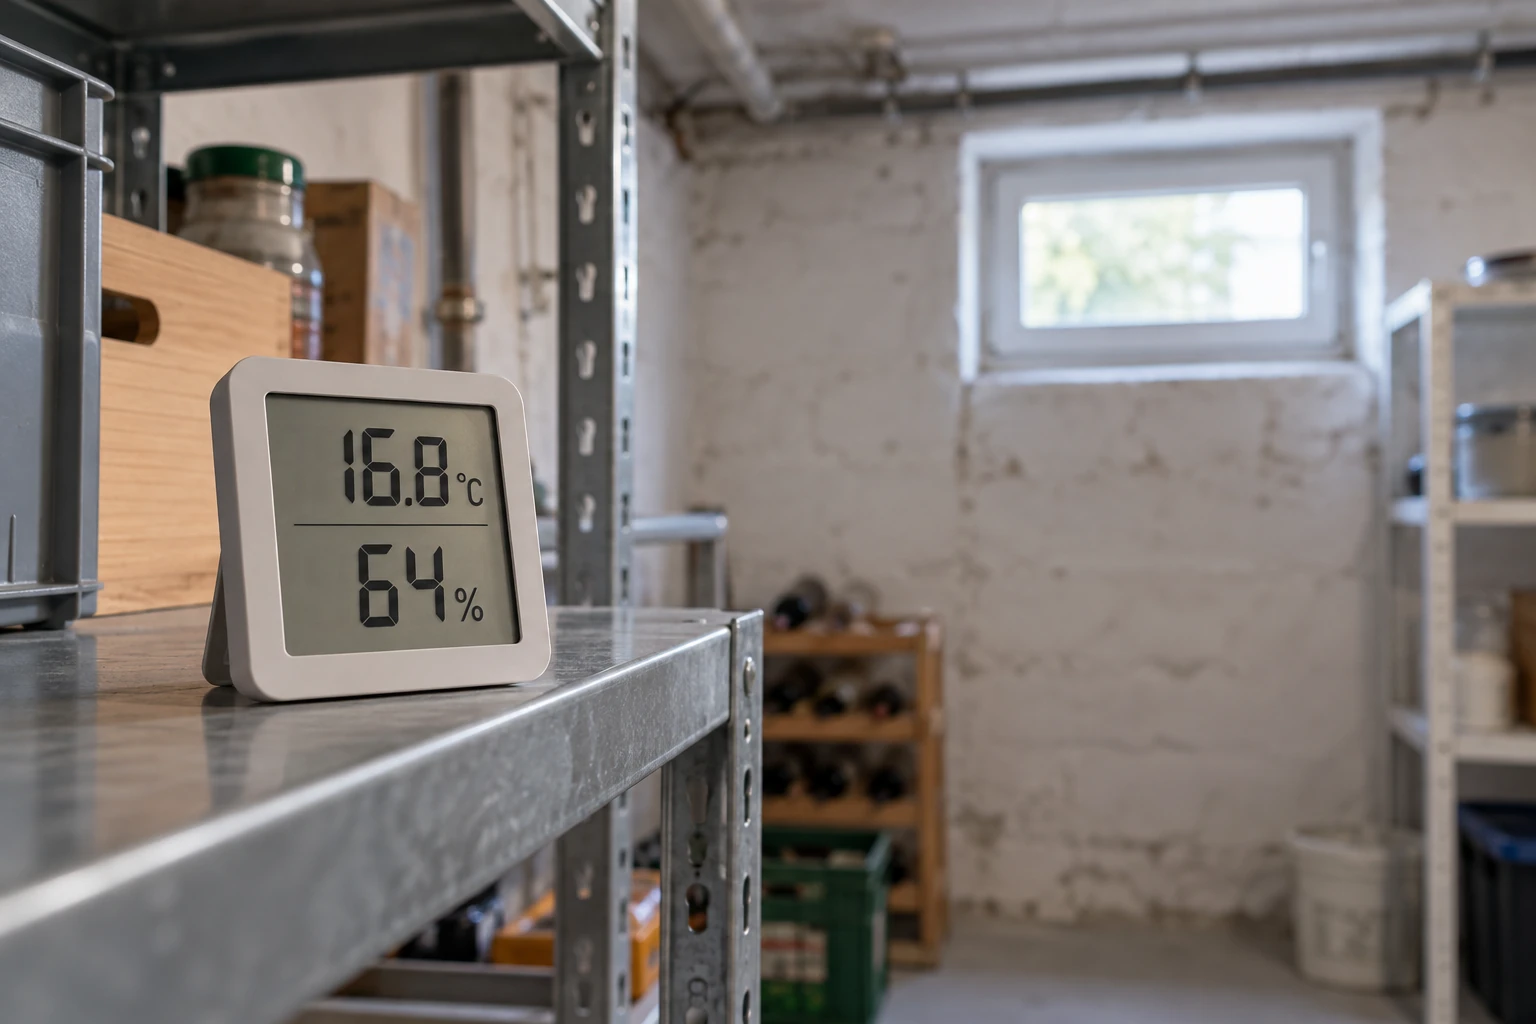
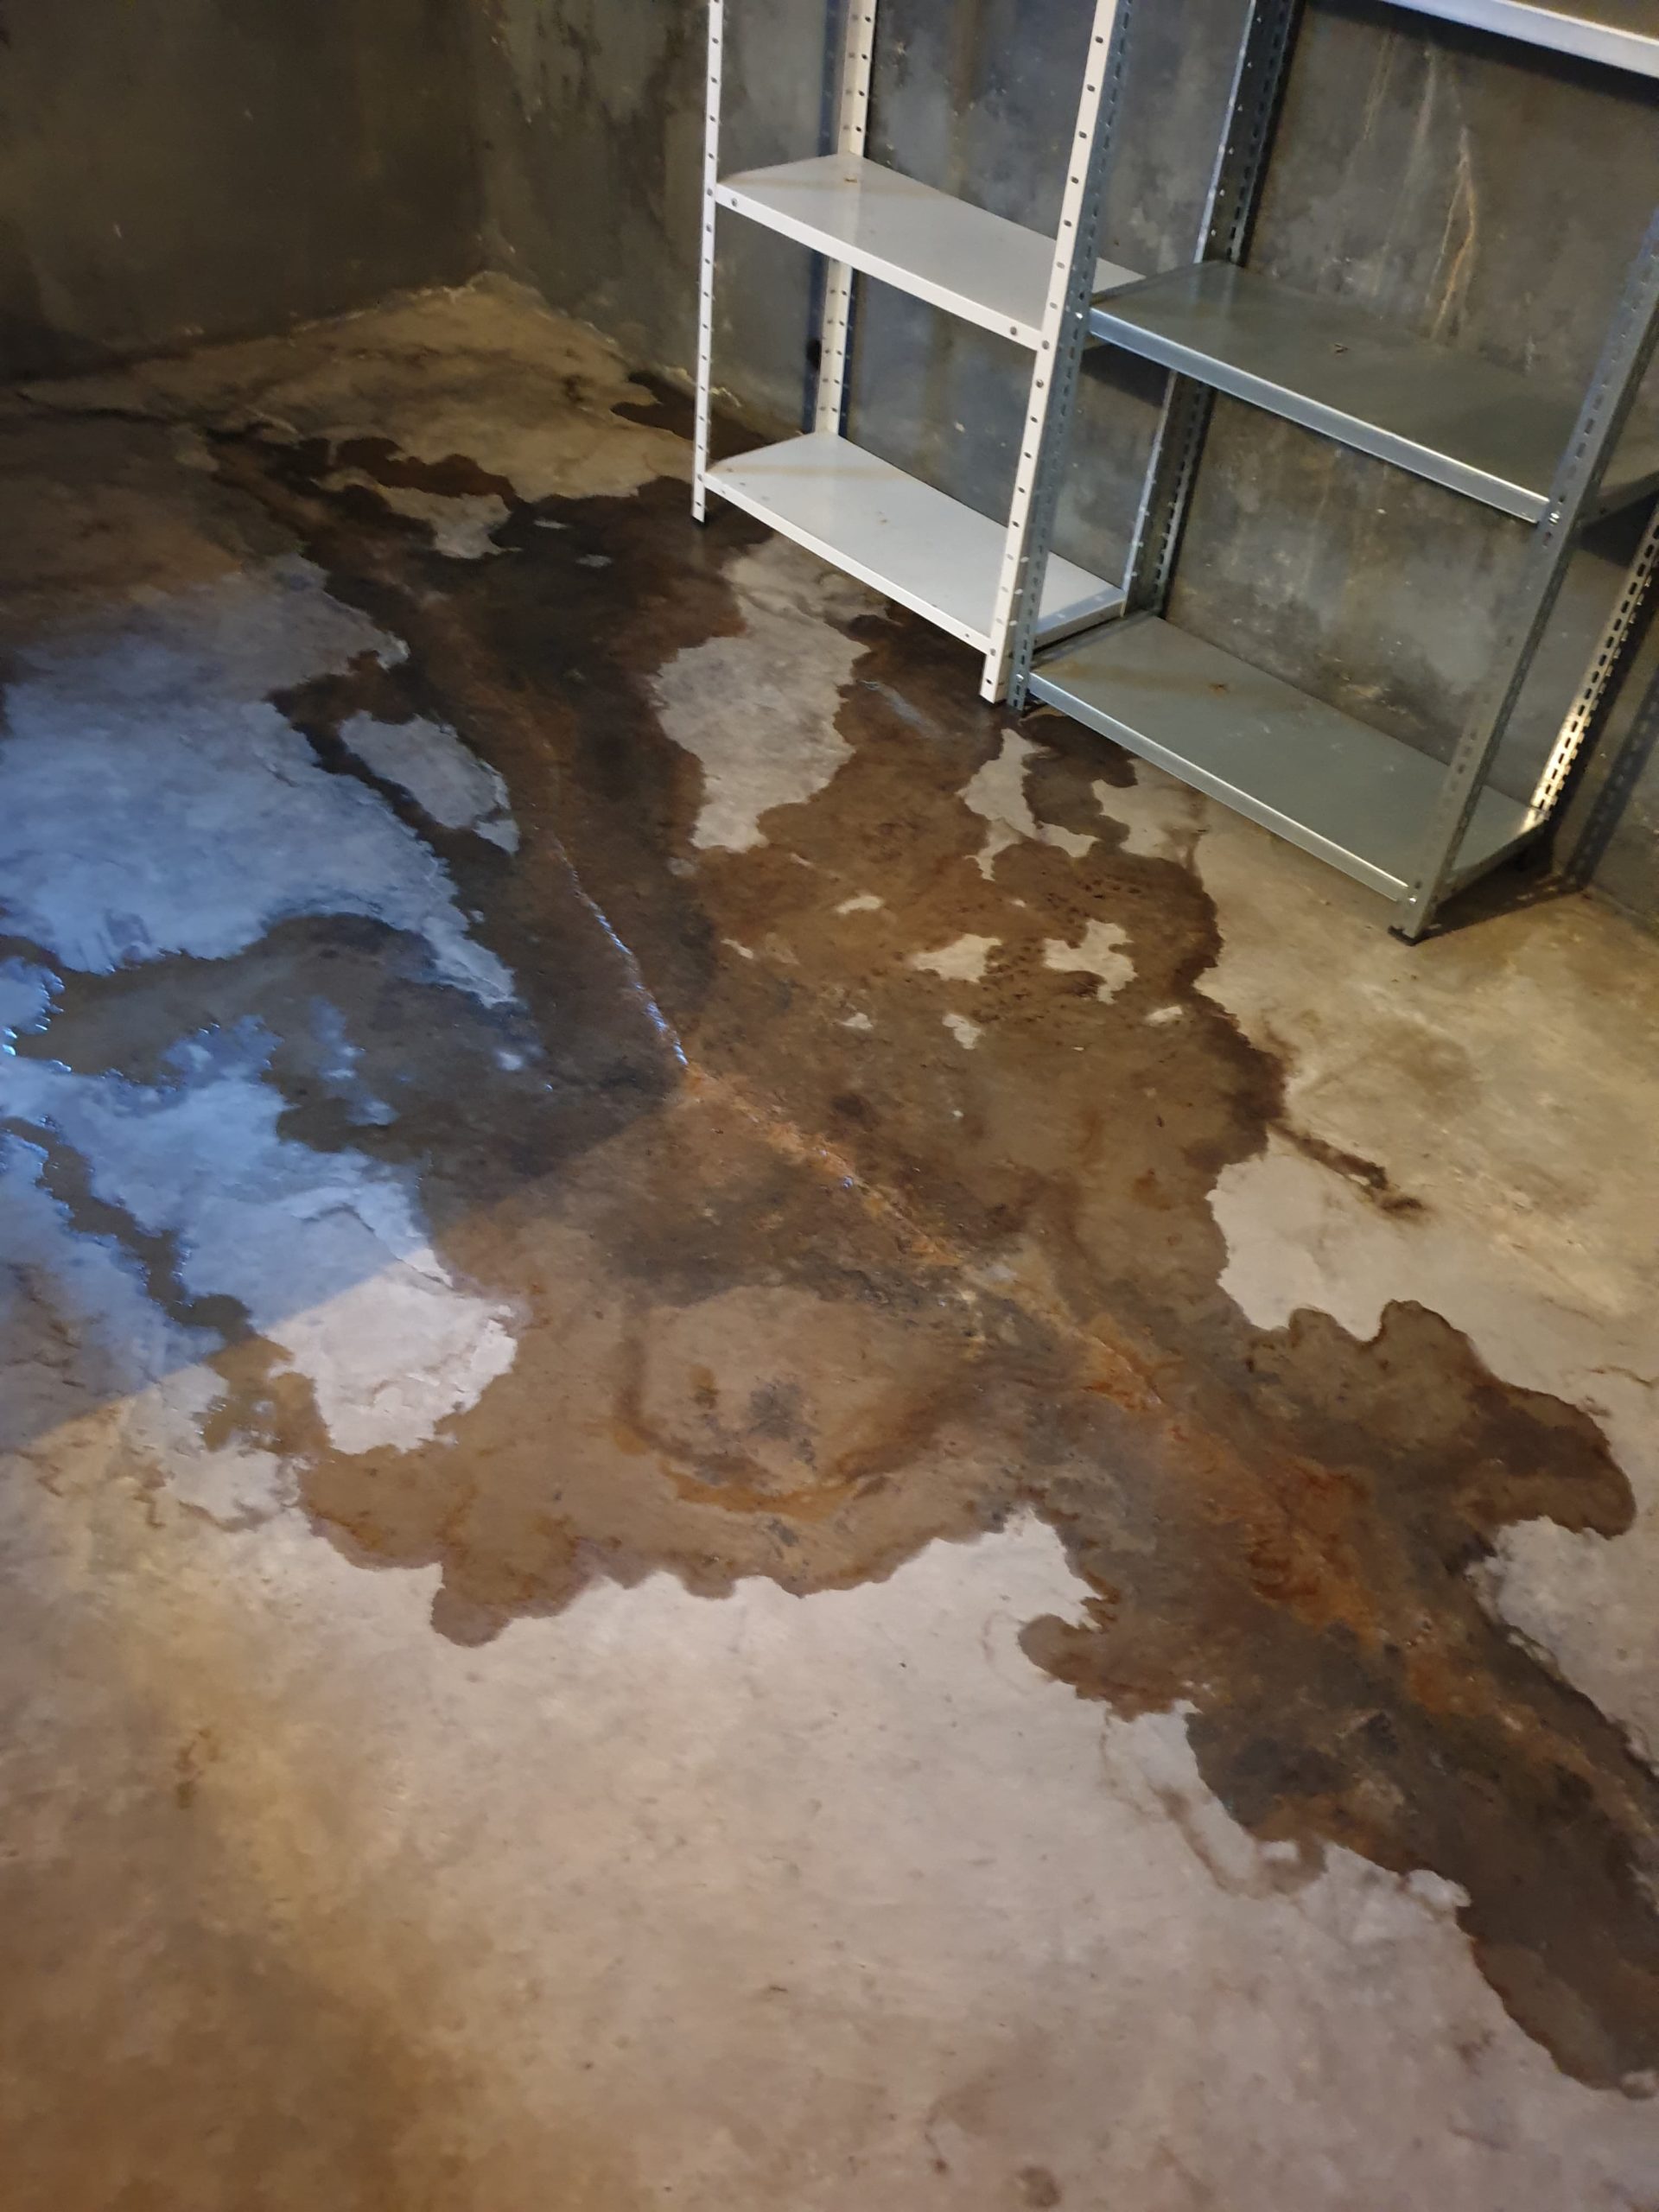
A clean grating does not establish that the drainage works. From a safe position, check whether you can see deposits or standing water at the bottom. Photograph unusual conditions before further work changes their appearance.
Lightwells are not all constructed in the same way. A visible outlet may connect to different drainage arrangements, and some installations include backflow protection. The building records or a qualified contractor should establish what is fitted and how it is intended to operate.
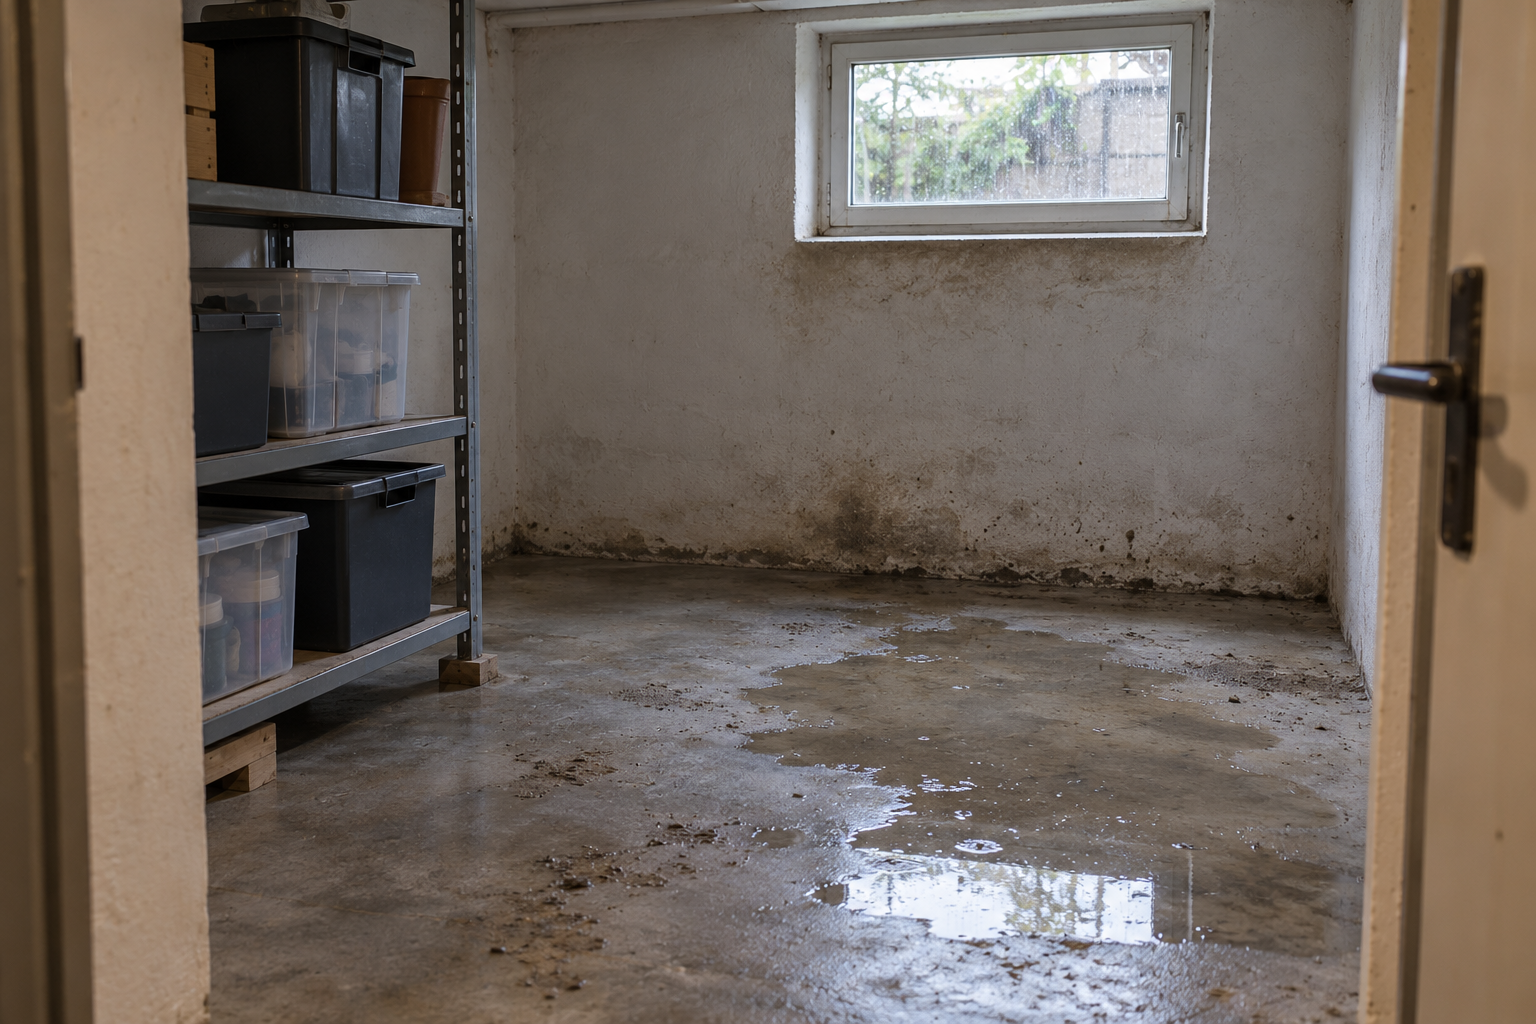
If water keeps collecting, record when it appears and how long it remains. Was there rain beforehand? Was the surrounding paved area also flooded? These details help an investigation, although none proves a particular cause on its own.
Do not open unfamiliar closures or change fittings simply to see what happens. Do not drill additional holes in an attempt to make water disappear faster.
If standing water returns after basement lightwell cleaning, have the system and its connections assessed.
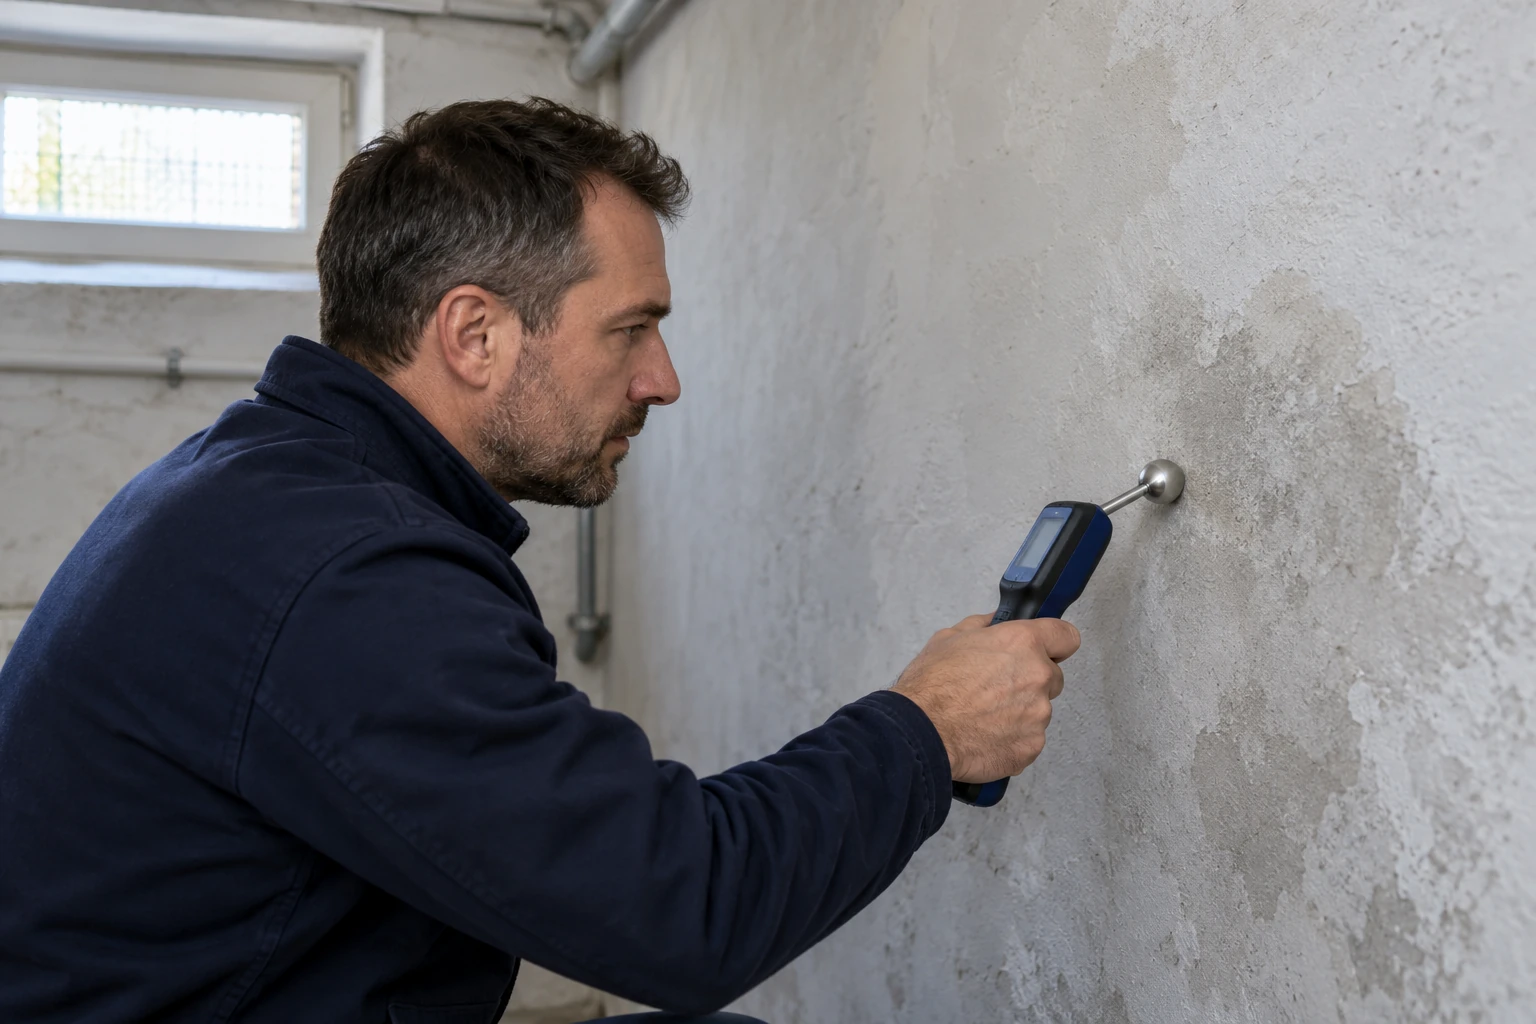
Use the opportunity for a visual inspection. Does the grating still sit correctly? Are there cracks in the well or changes where it meets the house wall? Can you see new moisture marks around the basement window from inside?
A leaf screen serves a different purpose from a construction designed to resist water entry. For example, tesa’s UK lightwell cover information describes a mesh that keeps out leaves and insects while allowing ventilation. That function should not be confused with waterproofing. See tesa’s information on lightwell mesh covers.
Consider the surrounding area too. The slope of the ground, nearby paths and the position of openings are relevant when investigating how water reaches the building. Photograph these wider surroundings rather than recording only a close-up of the window.
Any proposed alteration should suit the actual installation. Basement lightwell cleaning cannot compensate for unsuitable construction or repair a defective window connection.
If you notice damage, record it and arrange an assessment before assuming that another cover will solve the problem.
The appropriate frequency for basement lightwell cleaning depends partly on what accumulates there. A well beside a deciduous tree may need different attention from one on an open side of the house. Follow the maintenance requirements of the installed components as well.
Combine checks with other outdoor maintenance. After heavy leaf fall or gardening work, look for new deposits. Record any location that repeatedly develops the same problem despite cleaning, so that the pattern can be investigated.
A short note is enough:
Where several people look after the property, make it clear who will carry out the next check.
Keeping the records together also helps when a managing agent or maintenance contractor changes. Photographs taken from the same position make later comparisons easier.
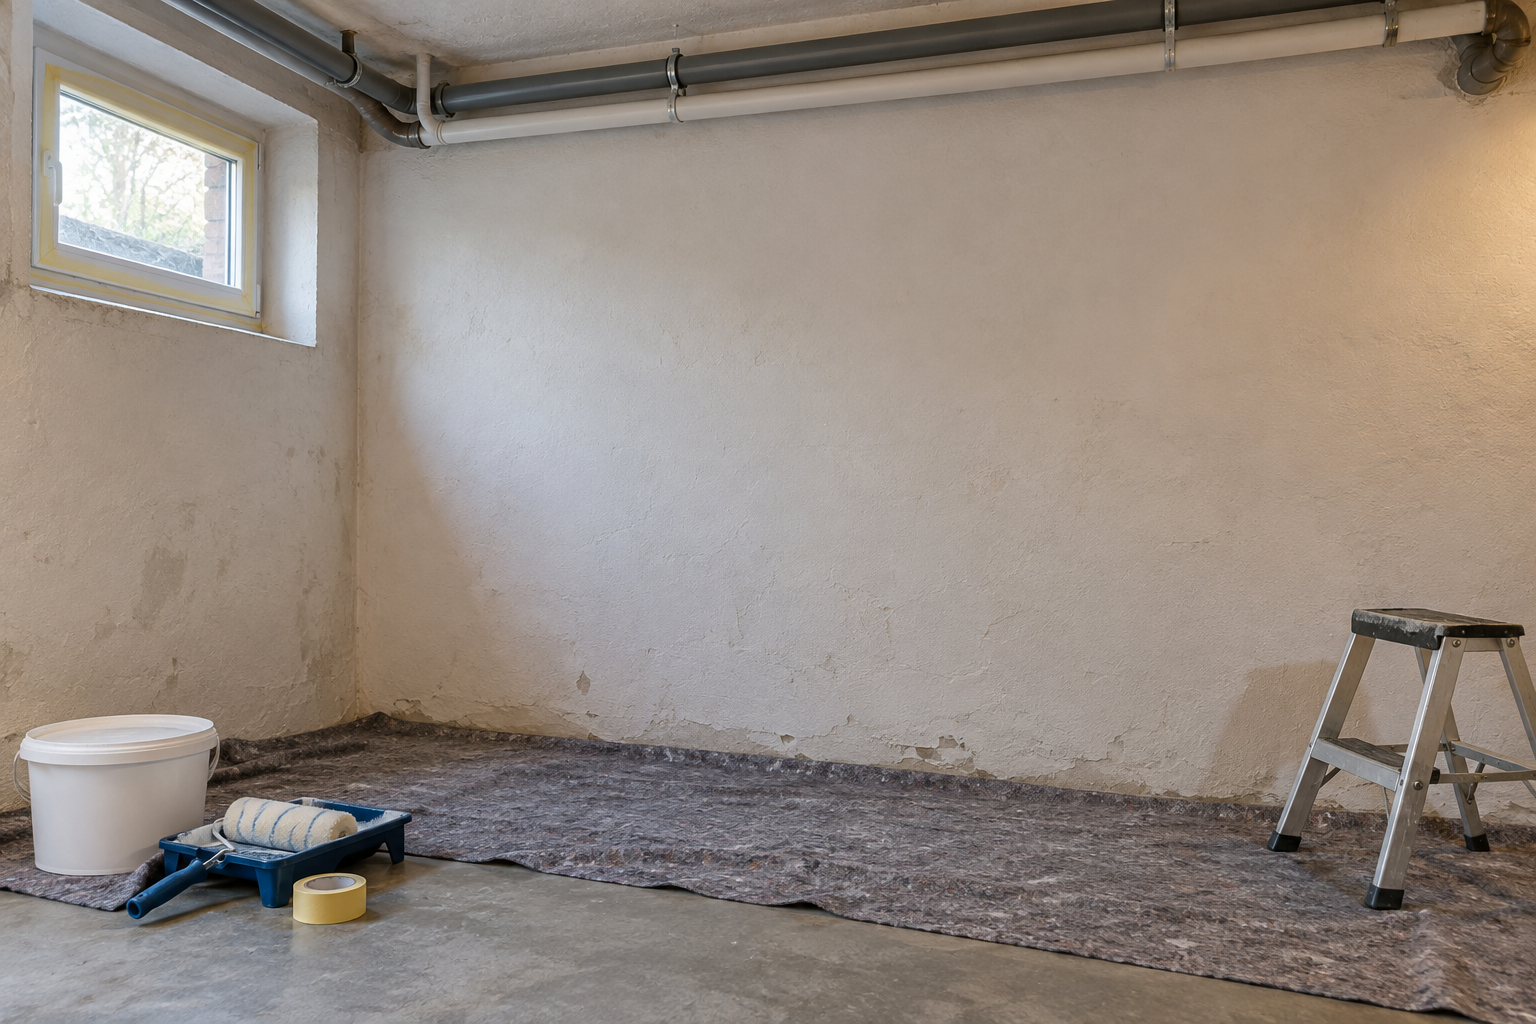
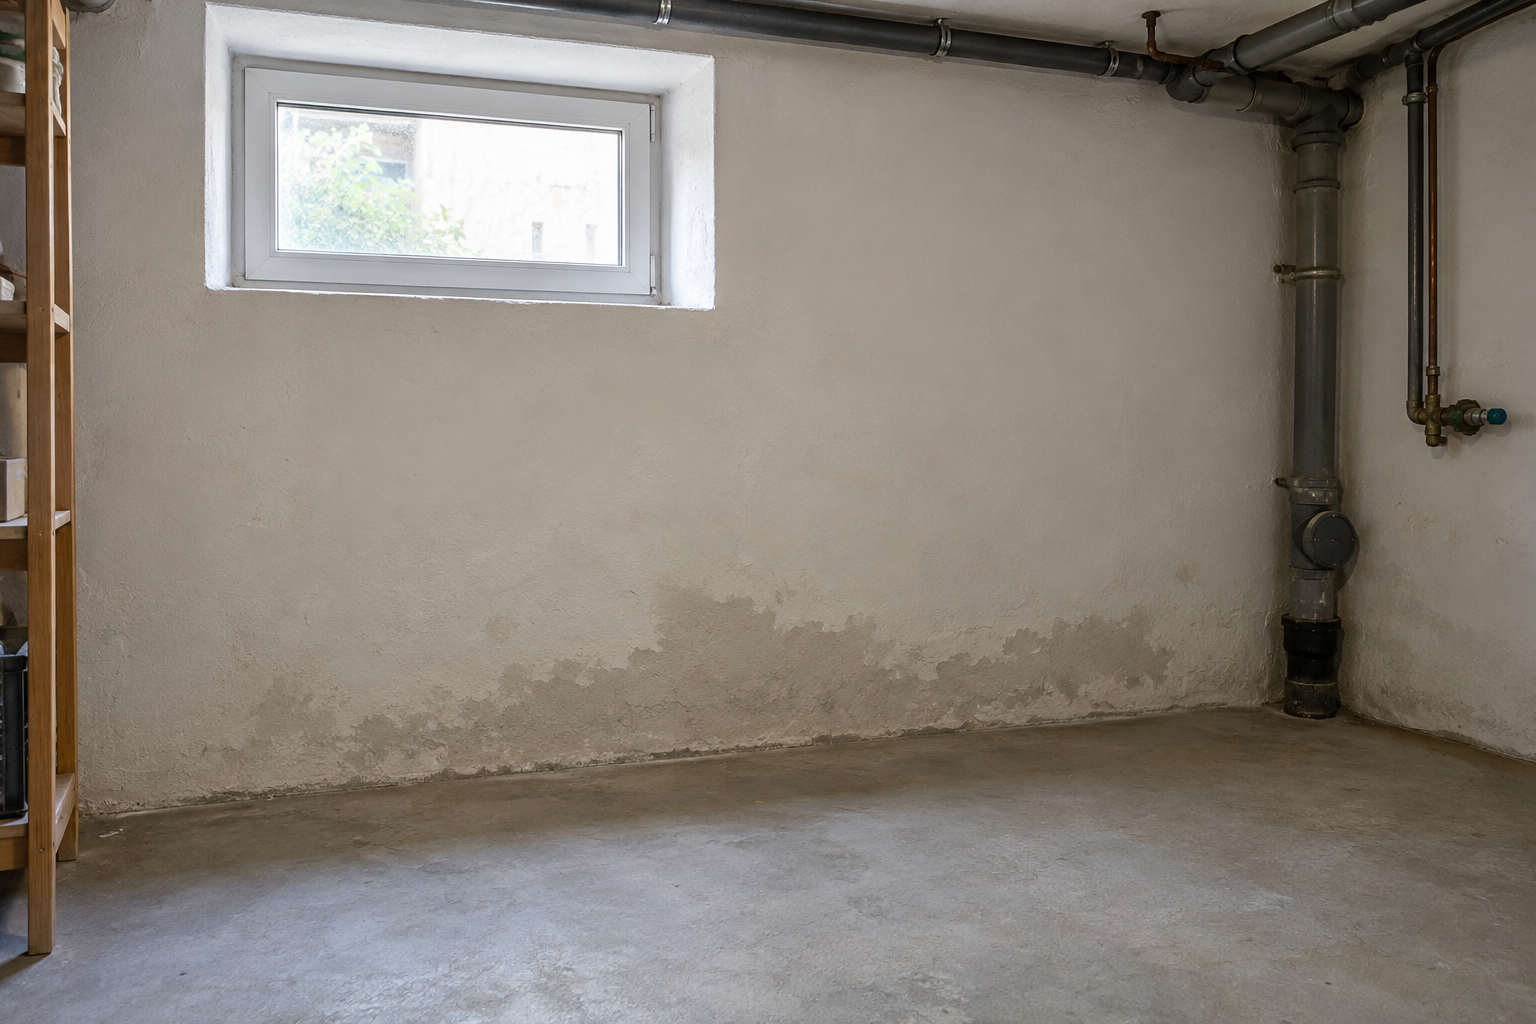
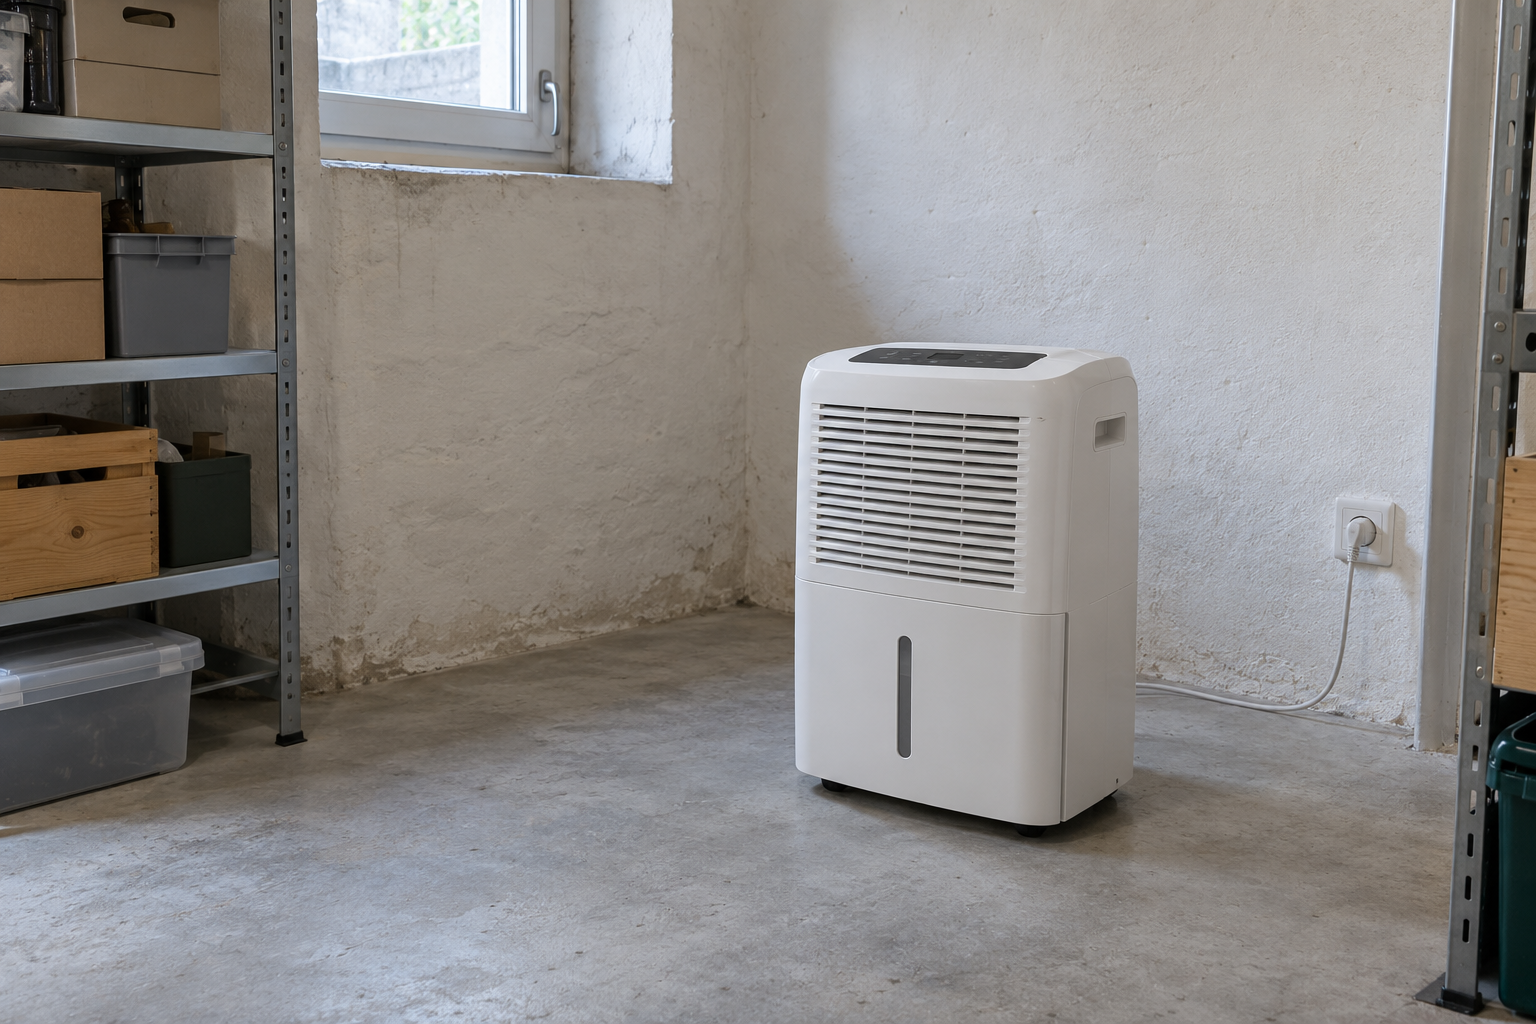
Basement lightwell cleaning is one part of property maintenance. If a basement wall remains damp, the source still needs to be established. Treating the adjacent wall does not repair a leaking window connection or resolve a drainage fault.
Gather your observations and any inspection findings before considering a wall treatment. The Thor Protect information pages explain the product and its application. Whether it is appropriate depends on the identified moisture problem and the suitability of the wall surface.
If a separate moisture issue remains after the lightwell and drainage have been assessed, you can discuss the potential use of Thor Protect.
Include photographs of the wall, window area and previous repairs to give the discussion a useful starting point.
Visit Thor Protect to discuss suitability for your basement wall.
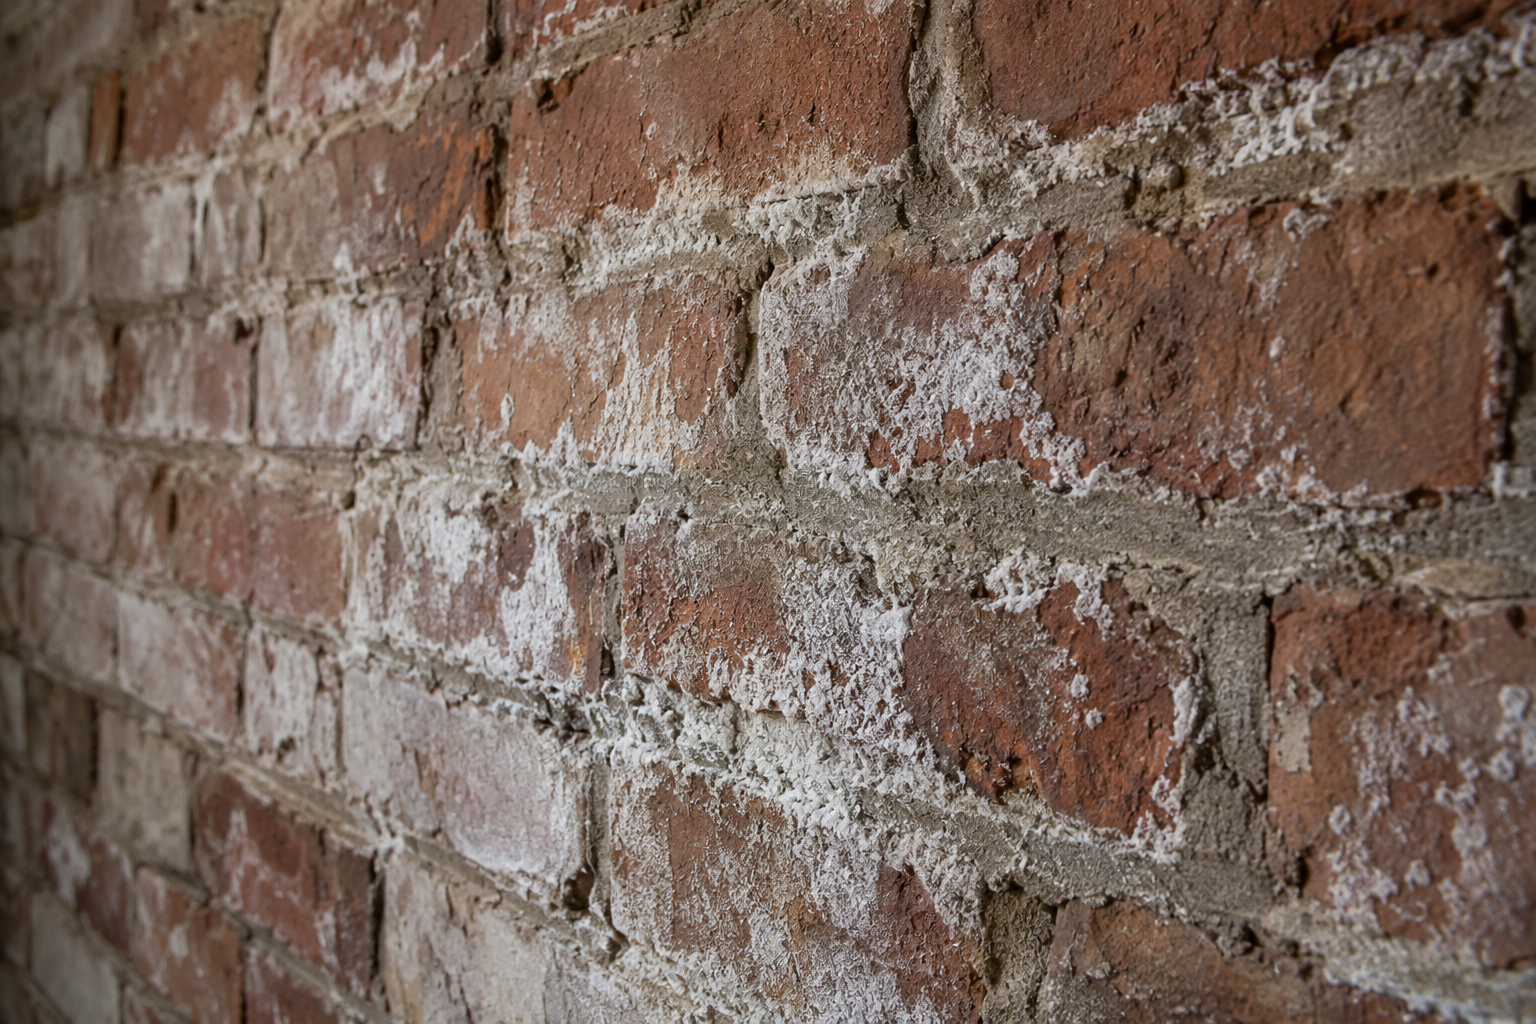
Alt text – image 1: Basement lightwell cleaning: autumn leaves on a grating beside a house wall
Alt text – image 2: Gloved hands remove loose leaves from a basement lightwell grating
PayPal uses Google reCAPTCHA to help secure the payment process. (More Information)
You are currently viewing a placeholder content from Vimeo. To access the actual content, click the button below. Please note that doing so will share data with third-party providers.
More InformationYou are currently viewing a placeholder content from YouTube. To access the actual content, click the button below. Please note that doing so will share data with third-party providers.
More InformationYou need to load content from reCAPTCHA to submit the form. Please note that doing so will share data with third-party providers.
More Information