
Basement moisture measurement may sound straightforward: switch on a meter, read the display and find out whether the wall is dry. However, a hygrometer and a building moisture meter answer different questions. An unusually high reading does not, on its own, explain where the moisture comes from.
Before collecting measurements, decide what you want to understand. Are you monitoring the room air, investigating a particular wall or following changes after a repair? These five tips help you record useful observations and interpret results more carefully.
Contents
A thermo-hygrometer measures the temperature and relative humidity of the surrounding air. It does not measure the water content of a basement wall. This distinction matters when choosing equipment: a room reading and a material reading describe different aspects of the situation.
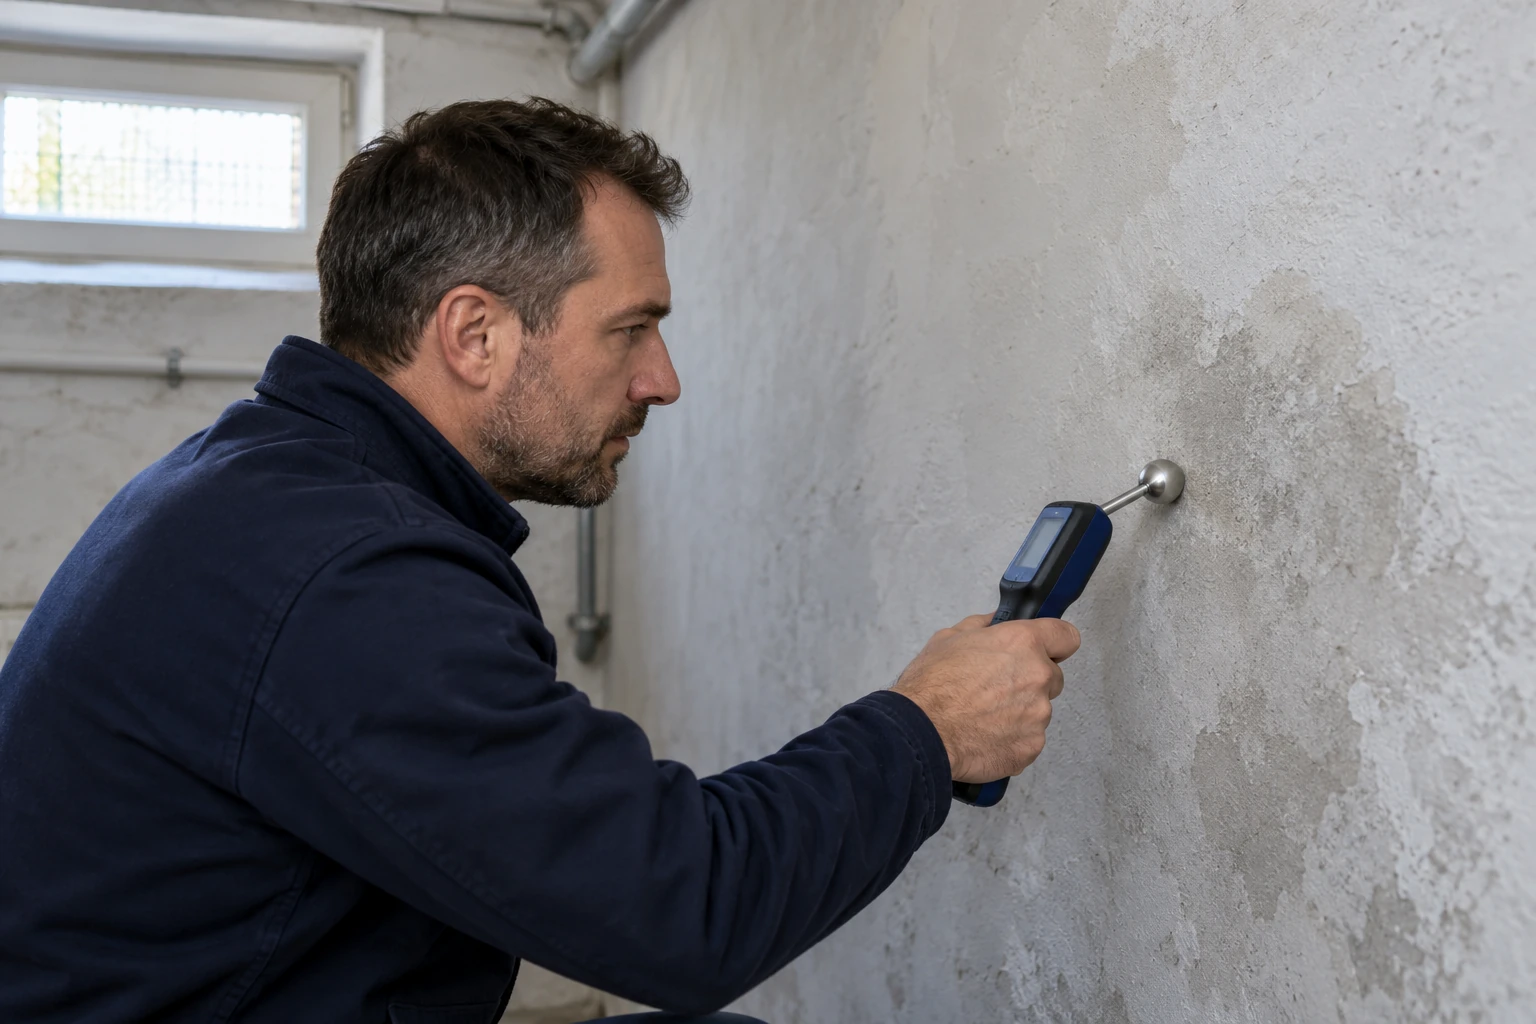
Building materials require other measurement methods. Depending on the instrument, these may use electrical resistance or a non-invasive sensing method. Protimeter explains the different functions of hygrometers, pin meters and non-invasive meters in its guide to using moisture meters.
Start with a specific question. “How does the room humidity change during the day?” can be investigated using a suitable room instrument. “Is there moisture deeper inside the masonry?” requires a different investigation.
Choose equipment that suits the question and the material rather than assuming that every device labelled a moisture meter does the same job.
For basement moisture measurement, always record the unit as well as the number. Relative humidity expressed as a percentage is not interchangeable with a material moisture reading or a value on a comparative scale.
Some instruments display relative readings rather than a direct percentage of water in the material. Others use scales calibrated for wood. Protimeter explains that its Wood Moisture Equivalent scale and its non-invasive relative scale need different interpretation. Read Protimeter’s explanation of measurement scales.
For example, a reading of “80” on one device and “40” on another does not establish that the first wall is twice as damp. You need to know the instrument, unit, mode and material before interpreting either result. Avoid applying a threshold copied from an unrelated online article.
Check the operating instructions to understand what your instrument reports and which materials it supports. If the meaning remains unclear, keep the reading as a question to discuss during an assessment, rather than treating it as a diagnosis.
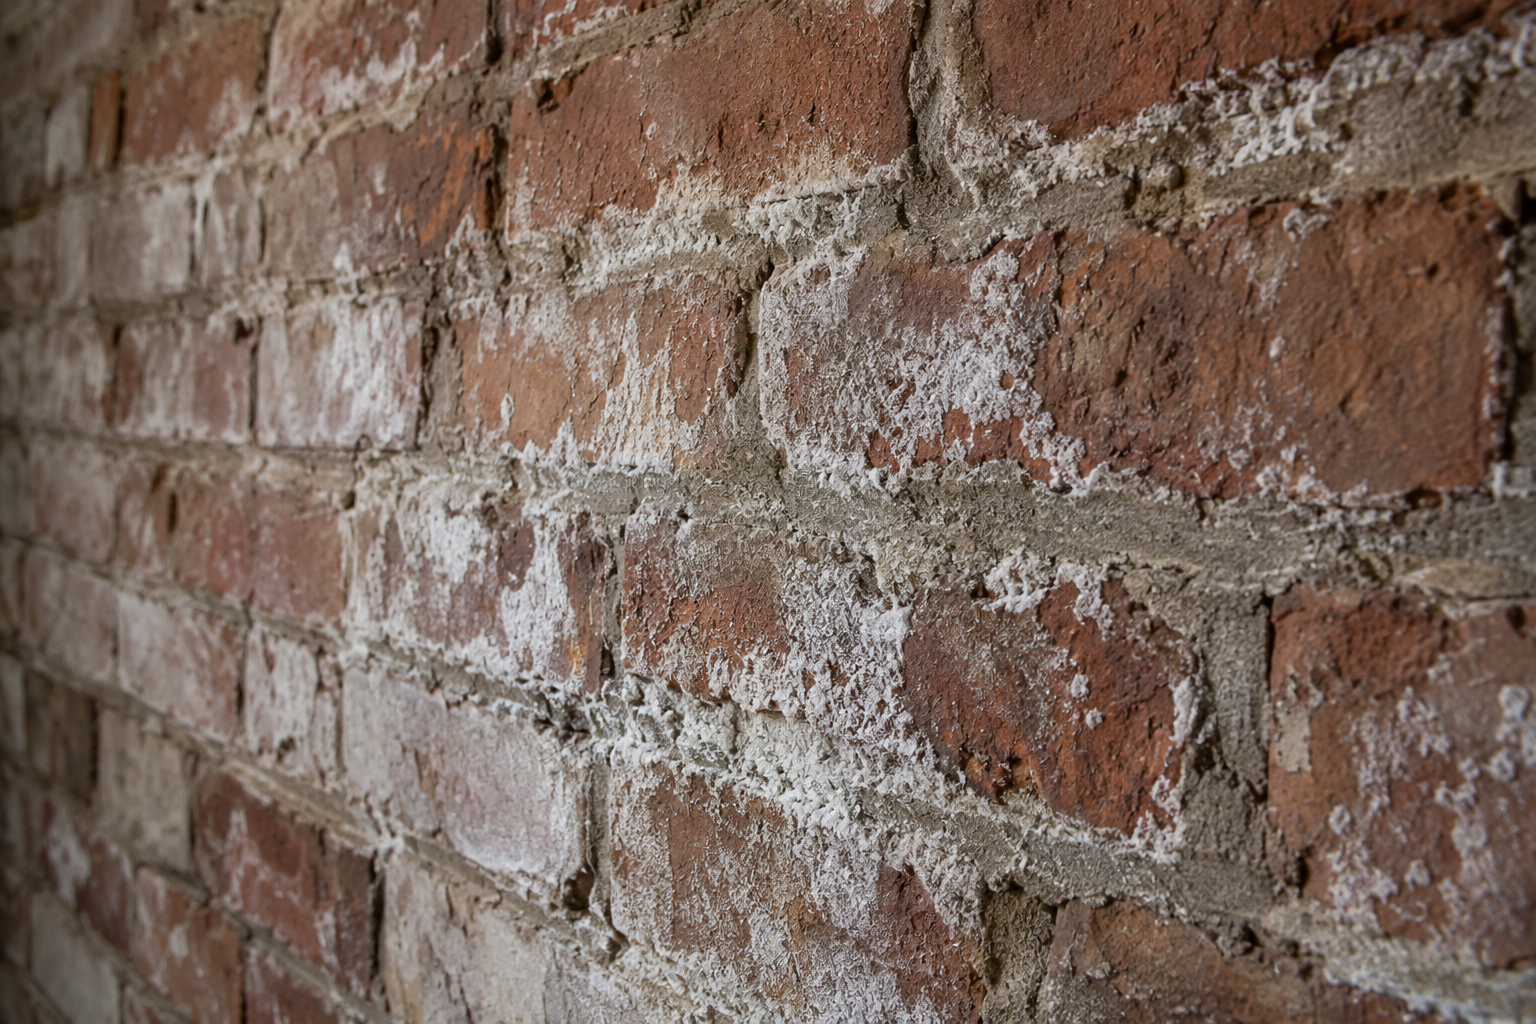
A photograph of a display often leaves out important information. Record where you measured and what is present at that location. A plastered wall, a tiled area and exposed brick should not be listed as though their construction were identical.
Metal beneath a surface can affect non-invasive readings. Protimeter identifies this as a possible reason for unexpectedly high results and recommends checking findings using an appropriate additional method. Protimeter’s guidance on metal and moisture readings.
Keep a simple record containing:
Give repeat measurement points recognisable names, such as “A — beside the basement window”. Take photographs from a similar position each time.
For air measurements, record where the hygrometer stands and follow the manufacturer’s placement and settling-time instructions.
Consistent documentation makes basement moisture measurement more useful when someone else needs to review the results. Include uncertainty too: if you do not know what is behind a surface, say so rather than guessing.
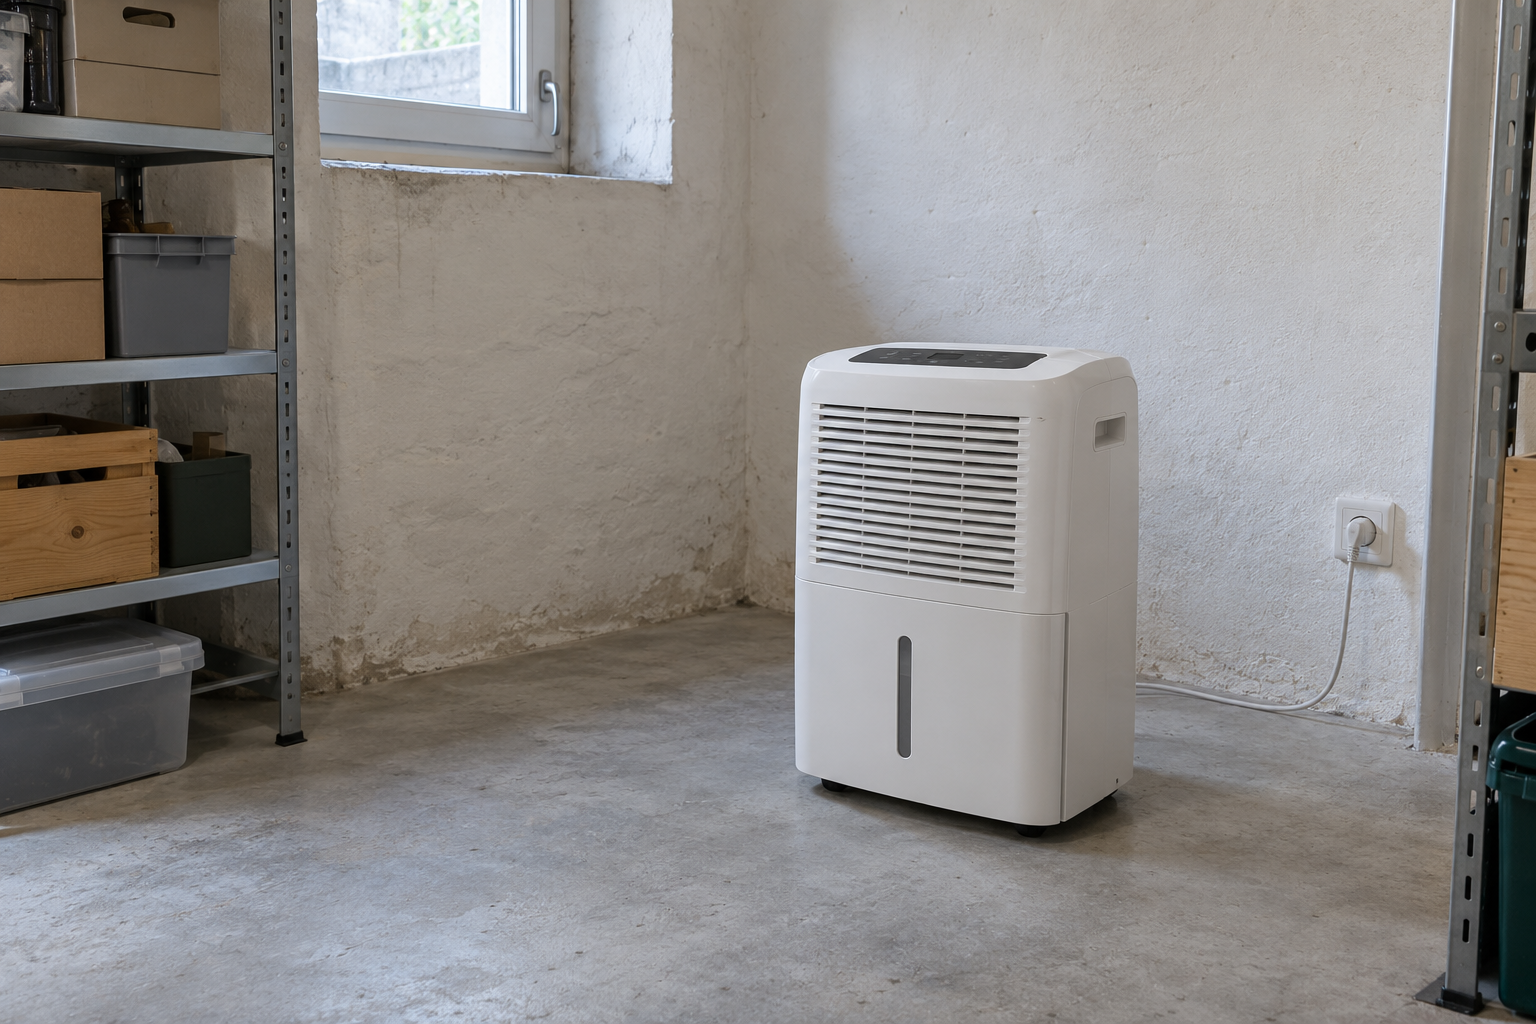
Repeated, comparable observations usually provide a better basis for discussion than a single snapshot. Note whether the room has recently been ventilated, laundry has been drying or a dehumidifier has been operating.
Avoid changing measurement conditions without recording the change. Moving a hygrometer from a shelf to a position beside the window can affect the reading. Mark the new position in your notes so that the difference is not automatically interpreted as a change throughout the basement.
Record rainfall, repairs and newly applied materials as well. Separate observations from conclusions: “the reading was higher the day after rain” describes a pattern. “The external waterproofing has failed” is a diagnosis that the reading alone does not establish.
Basement moisture measurement does not require an elaborate spreadsheet. A few clearly labelled entries and photographs can be a useful starting point.
However, if water is visibly entering or damage is increasing, arrange a prompt investigation instead of waiting to complete a lengthy monitoring period.
Basement moisture measurement cannot replace an investigation of the cause. Recurring changes should be considered alongside the building’s construction, the room’s use, visible damage and previous work. The appropriate next measurements depend on the situation.
Ask what the method being used actually measures and where its limitations lie. Have the findings explained together with the measurement locations. It matters whether the assessment concerns only the surface or includes material deeper within the building element.
A lower reading alone does not confirm that a wall is ready for painting or waterproofing. The substrate and the proposed application need their own assessment.
Before discussing a product, gather the findings and check the relevant Thor Protect information on use and application.
If basement moisture measurement is your starting point for considering Thor Protect, prepare photographs, observations and any professional findings. Include the instrument, unit and measurement location whenever you supply readings.
This gives the discussion a clearer basis. Suitability depends on the substrate and the identified problem, rather than on a display value alone.
Describe previous repairs and any remaining uncertainties so that the next steps can be considered in context.
Visit Thor Protect to discuss your situation and the possible application.
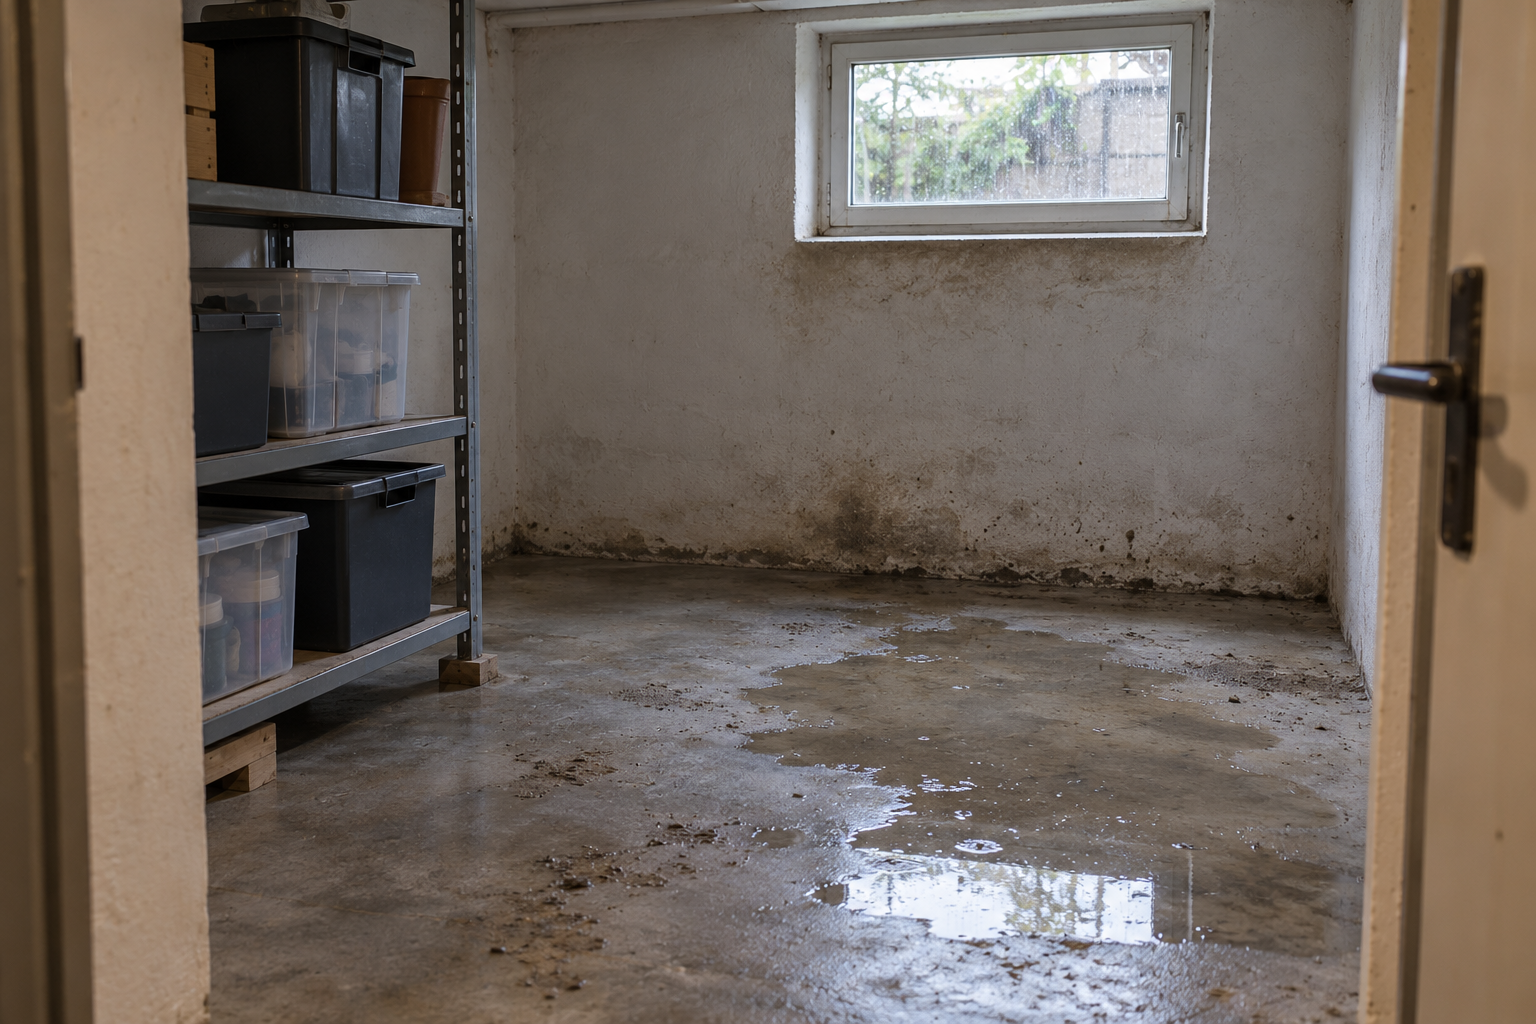
Alt text – image 1: Basement moisture measurement: a thermo-hygrometer on a shelf in a basement
Alt text – image 2: An inspector checks a basement wall with a moisture meter
PayPal uses Google reCAPTCHA to help secure the payment process. (More Information)
You are currently viewing a placeholder content from Vimeo. To access the actual content, click the button below. Please note that doing so will share data with third-party providers.
More InformationYou are currently viewing a placeholder content from YouTube. To access the actual content, click the button below. Please note that doing so will share data with third-party providers.
More InformationYou need to load content from reCAPTCHA to submit the form. Please note that doing so will share data with third-party providers.
More Information