- Trusted Shops certified

Application areas · Damp walls
Damp walls – choose the treatment to suit your wall
Take a targeted approach to damp wall surfaces rather than simply painting over them again. According to the manufacturer, Thor Protect is intended for suitable mineral surfaces affected by penetrating moisture. Check the cause and substrate – then choose the material for your actual treatment area.
For suitable mineral surfaces. Not a blanket solution for condensation, thermal bridges or every cause of damage.
Your wall determines the approach
Stone, concrete and masonry: the manufacturer lists these mineral substrates as application areas. An appropriately prepared, accessible and absorbent surface is a prerequisite.
Cement and lime plaster: these plasters are also listed. Check the condition of the surface; loose and barrier-forming layers must be removed according to the instructions.
Gypsum, plasterboard or unknown construction: do not choose on a hunch. Gypsum plaster is expressly excluded from the plasters that may remain in place; there is no general waterproofing approval for plasterboard here. Clarify the construction before ordering.
Assess the cause first, then choose the product
Penetrating damp and a suitable mineral substrate: this is the application of Thor Protect described in the manufacturer’s documentation. It is not a promise to remedy every cause or dry out the entire wall cross-section.
Condensation or cold wall areas: assess the cause first. The documentation does not establish that the base system is effective against thermal bridges or condensation.
Unclear cause: a patch or photo is not enough for a reliable diagnosis. Use the observation guide in the existing guide to the causes of a damp basement wall. It covers basement cases and does not replace an assessment of your specific wall.
Primer and finisher for suitable DIY application
For suitable surfaces, the product approach uses Primer No. 1 and Finisher No. 2. The manufacturer’s instructions describe preparation and application. This allows you to plan the work with a specific system rather than an arbitrary coating.
Before starting, read the instructions supplied with your kit. The number of applications and waiting times differ between the available versions; a single brief recipe for all kits would therefore be inaccurate. Use the existing application section as an introduction to application.
Find out more about the system under How it works. The specific application and its limitations remain the deciding factors for your choice – not a blanket promise of dryness.
Order for the treatment area – not just the patch
The treatment area includes additional margins. Do not plan solely on the basis of the visible discolouration. Agree on the required area and material requirements before purchasing.
The Test Kit is described as providing material for approximately 1 m². Actual coverage depends, among other things, on the absorbency of the substrate. A visible patch of 1 m² is not automatically a complete job for one Test Kit.
Note the wall material, existing layers and the extent of the affected area. Have these details ready for application advice . We do not specify a fixed margin width here: the available manufacturer specifications differ.
Entire treatment area
Agree on margins in advance
Visible damp patch
Diagram – not to scale, not a spacing specification
Choose the purchase option that suits your task
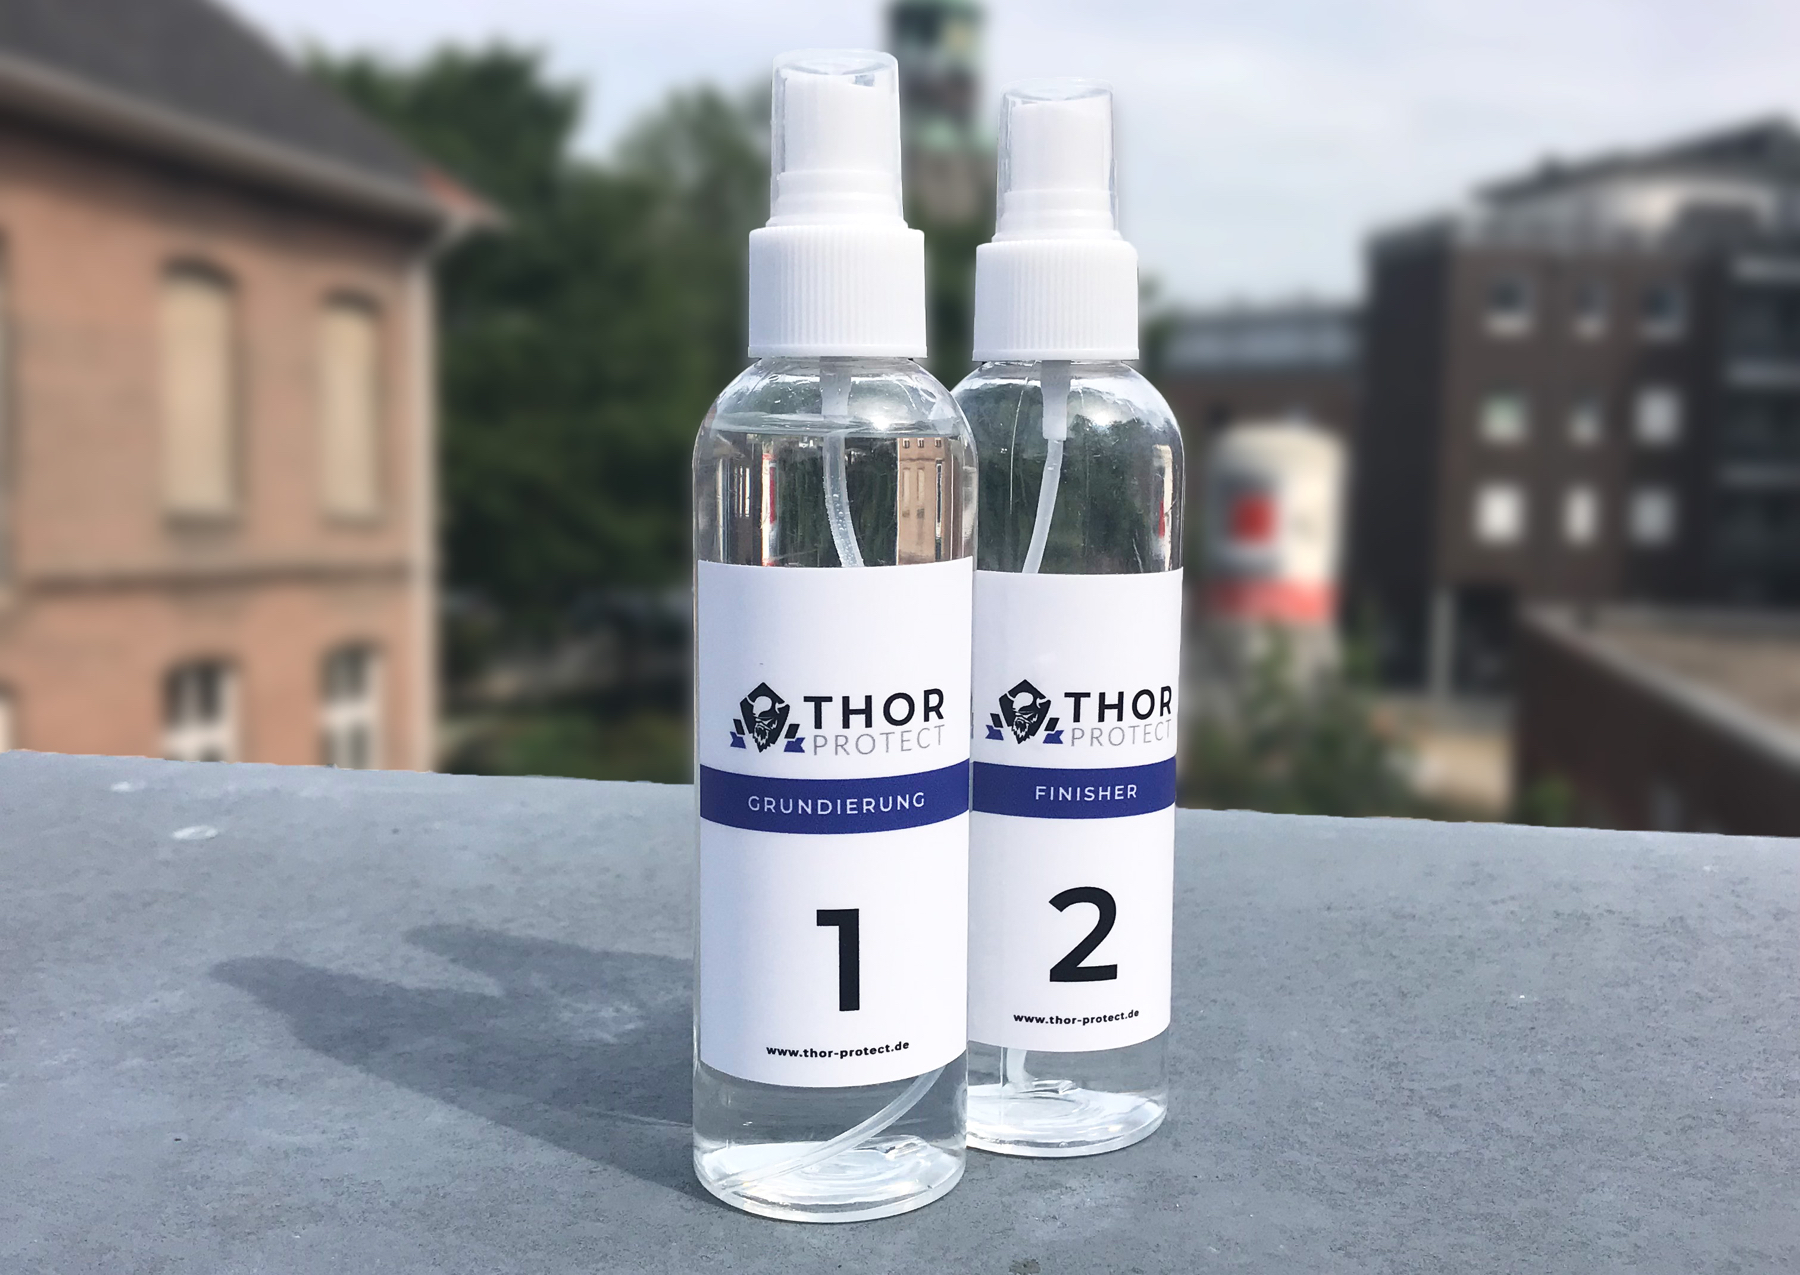
Check a small area: View the 1 m² Test Kit. Use it for a limited test or for a small treatment area that meets all the requirements. Check the entire area, including margins, first.
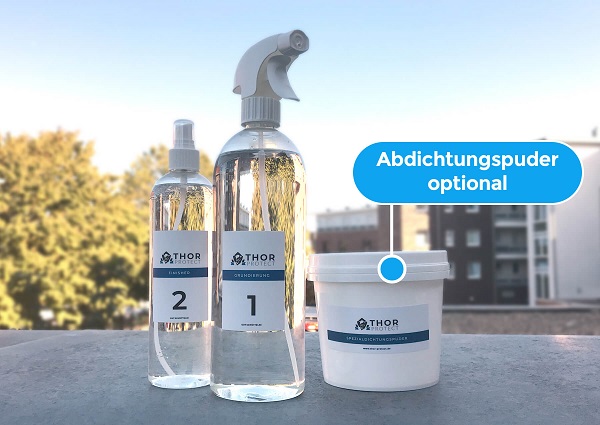
Treat a suitable wall area: View Base Kit. Choose the available quantity according to the agreed material requirements. The product photo shows waterproofing powder as an optional addition, not as a component included as standard.
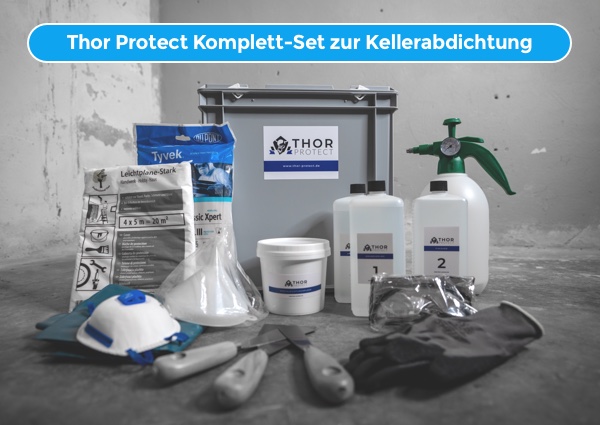
Compare kit contents: View Complete Kit. Check the current contents and available variants there. A larger kit is no substitute for checking the cause or confirming substrate suitability.
You will find current prices, contents and selection options on the respective product page. Only buy when the material, application and quantity needed match.
Include preparation and protection in your plan
Make the suitable mineral surface accessible according to the instructions. Remove loose or barrier-forming layers as specified; protect adjacent sensitive surfaces from splashes. Simply applying the product to any existing wallpaper or coating is not intended.
Primer and finisher can irritate the skin and eyes. Observe the safety data sheets and use the prescribed protective equipment. Keep the products out of the reach of children.
Do not plan around a fixed drying or renovation deadline. The substrate, moisture condition and kit-specific instructions determine further work; the available time specifications are not consistent.
Go straight to the relevant area
Basement wall affected: open the existing overview of basement waterproofing with Thor Protect. It brings together the basement application options.
Wall in a living area or unknown construction: clarify the material, cause and safe application through contact and application advice. Listing a room alone does not constitute approval for every wall construction.
Frequently asked questions
Is Thor Protect suitable for every damp wall?
No. The manufacturer's documentation lists suitable mineral substrates such as stone, concrete, masonry, and cement and lime plaster. The cause, condition and preparation must be appropriate; no approval for arbitrary coatings or plasterboard is inferred here.
Can I simply paint over a damp wall?
Do not plan only for the visible surface. For Thor-Protect application, the suitable substrate must be accessible and absorbent. Loose and barrier-forming layers must be removed according to the instructions; the cause of the damp must be clarified beforehand.
Does the Base Kit also help with condensation?
Such an effect is not substantiated in the product information evaluated here. The manufacturer's website distinguishes separate specialist coatings for this purpose. Therefore, clarify condensation and thermal bridges separately before choosing a kit.
Is the Test Kit enough for a patch of one square metre?
Not automatically. The manufacturer's specification refers to material coverage of approximately 1 m². Required margins and the wall's absorbency must be included in quantity planning.
How long does it take before further work can be carried out on the wall?
We do not specify a fixed timeframe for this. The available instructions give different periods. Base further work on the substrate, moisture condition and current instructions for your kit.
Is the waterproofing system also a mould remover?
A waterproofing application is not a blanket mould remediation solution. Assess the infestation and cause of the damp separately. Suitability for mineral surfaces does not imply general approval to remove mould with primer and finisher.
Relevant information for your project
Take the next step
Take the right wall treatment into your own hands. First establish the substrate and treatment area – then choose the kit you actually need.